DiecastXchange Forum banner

Mine's Nissan GT-R (R35) custom

6.5K views 36 replies 11 participants last post by  StratosWRC  
#1 ·
Hello everyone

Thought I'd post this custom I've been working on over the last few months, while waiting on parts from miyminimodels which were ordered on april 5 and still nothing. Waited 2 months to ship and now waiting 2 months to receive lol.

Anyway, you've probably seen my previous Mine's Garage cars

Image


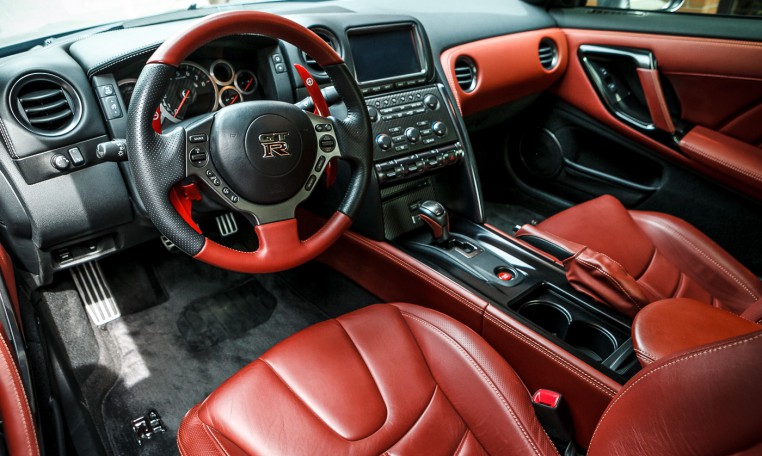
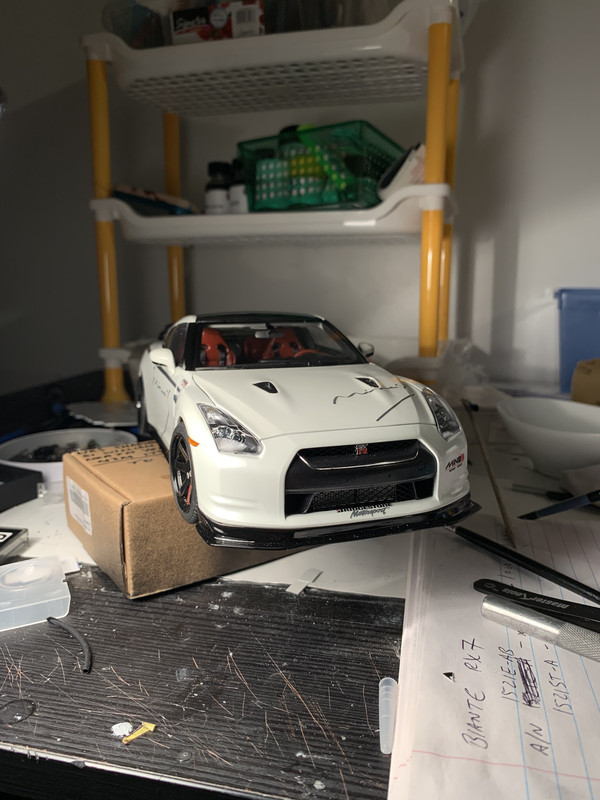
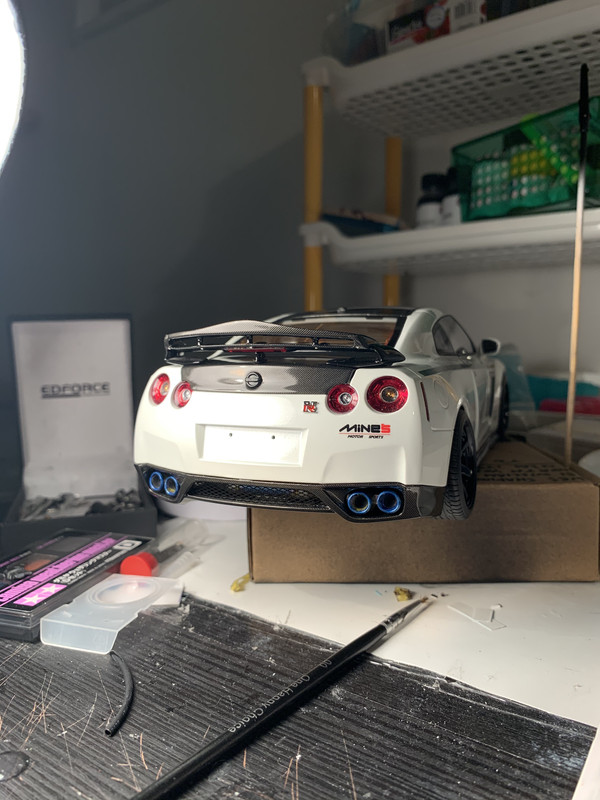
This time it's the R35, which is based on the rather excellent Kyosho version, which I actually prefer to the Autoart.

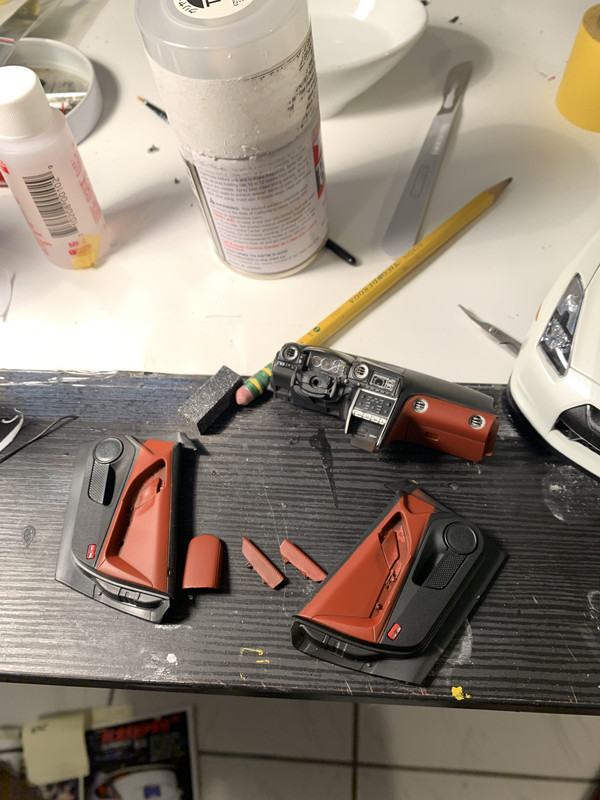
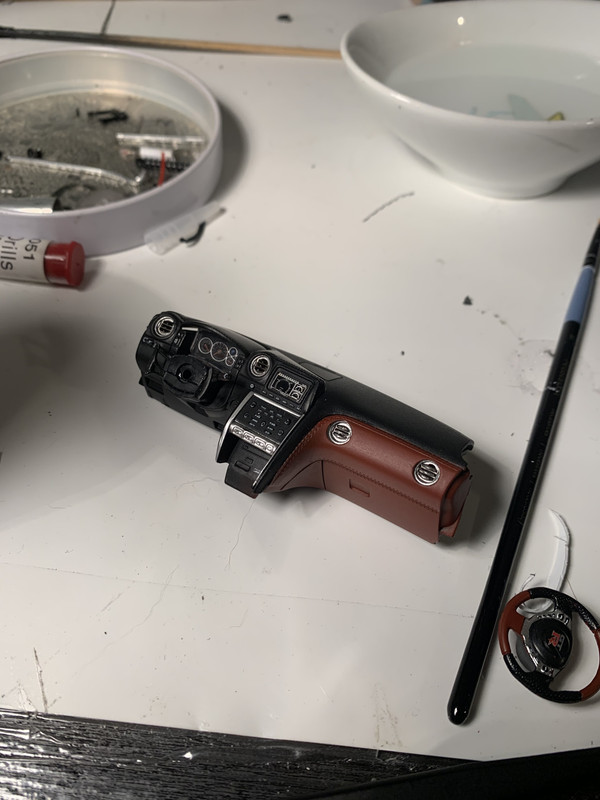
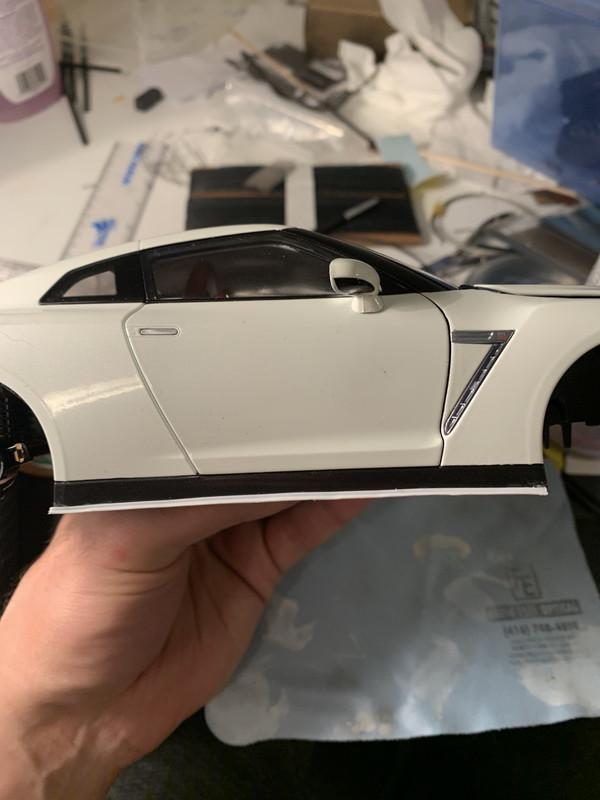
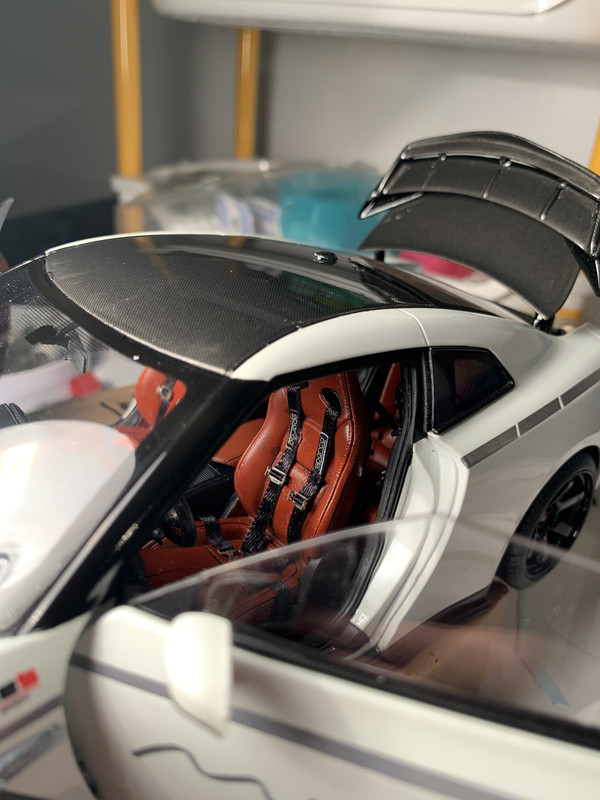
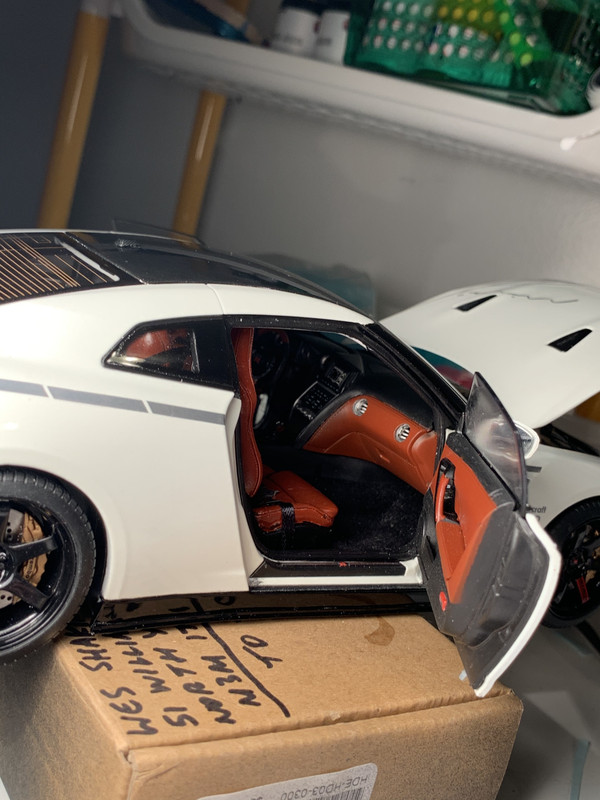
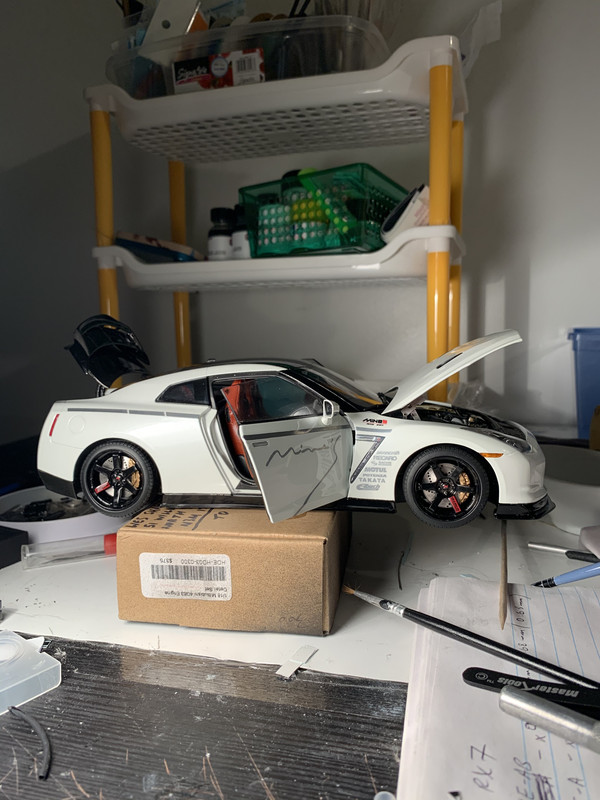
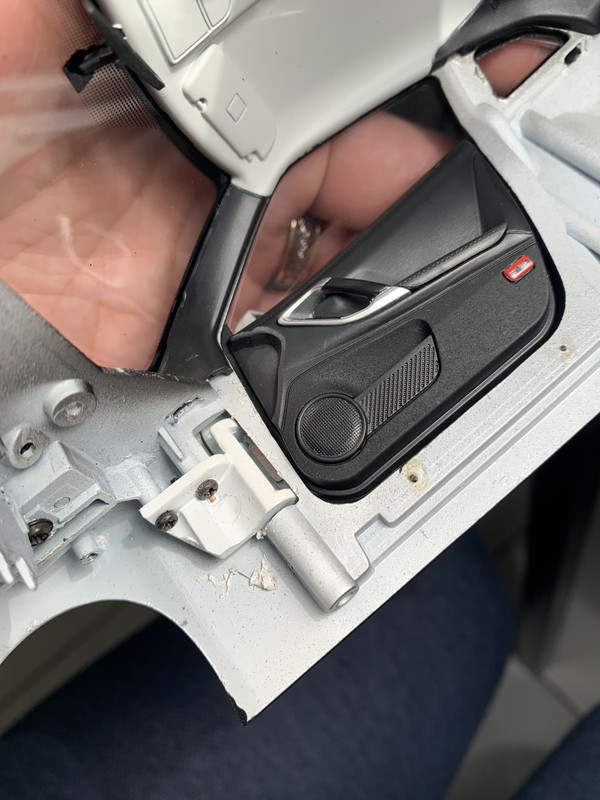
Some of my favourite details are doors, which are just excellent - with separate lights that are not just painted on.

Image


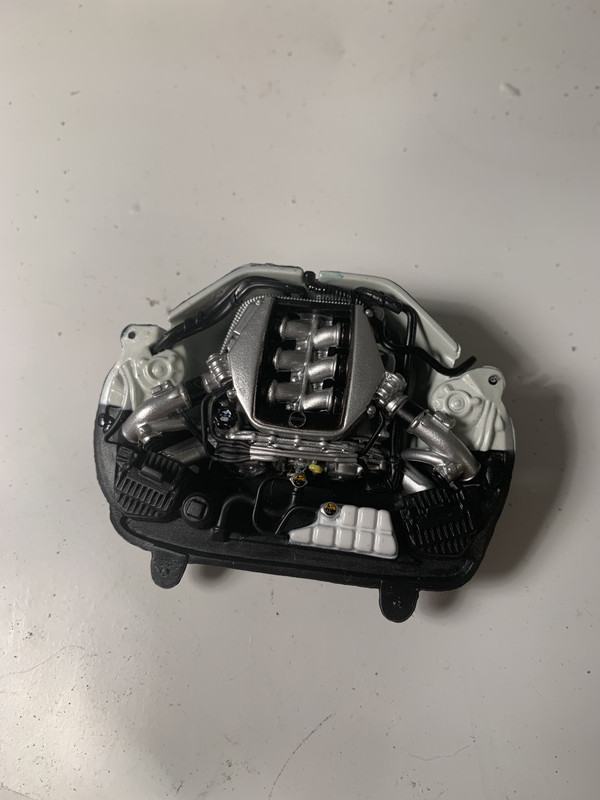
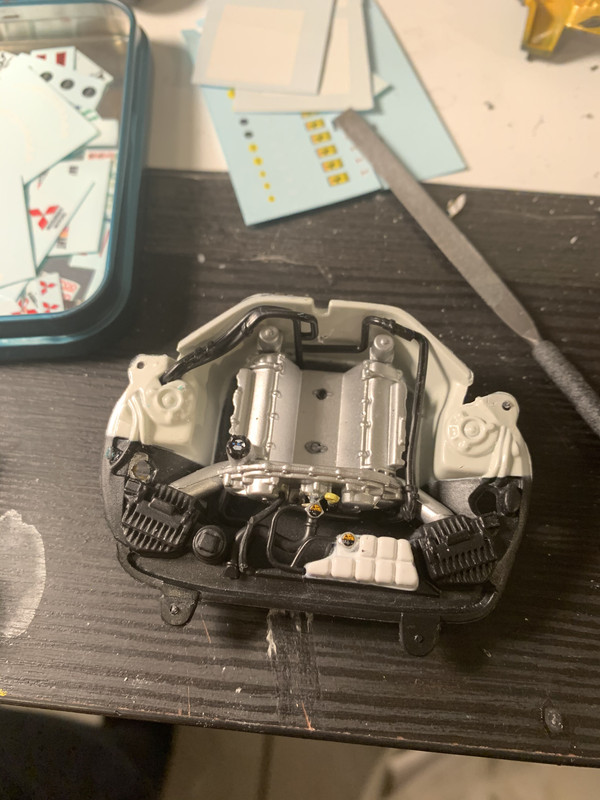
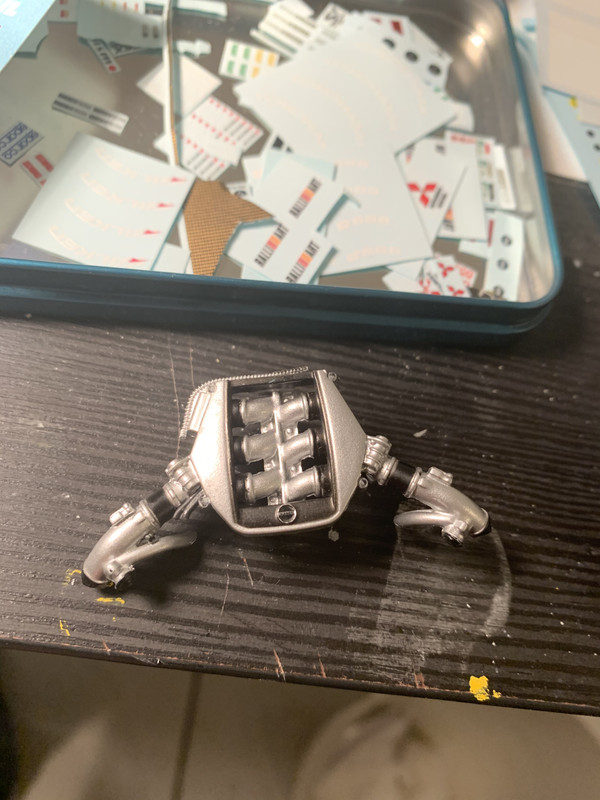
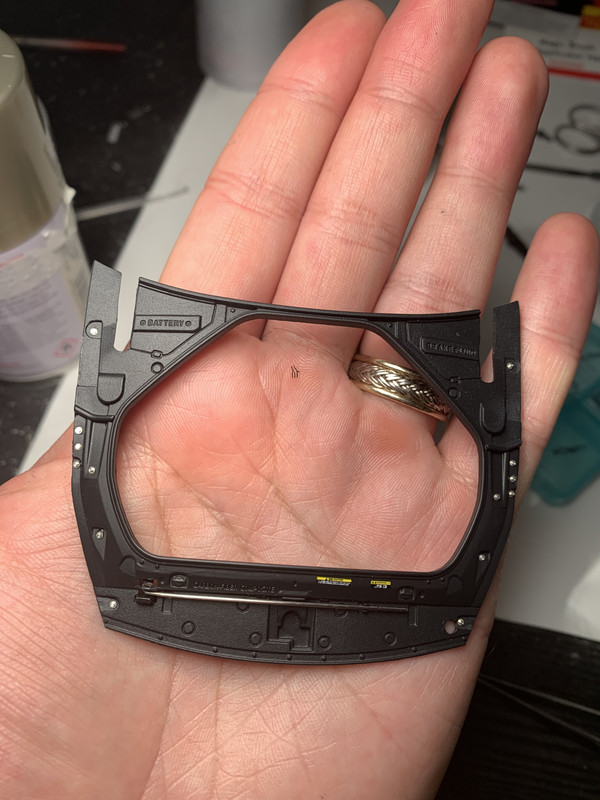
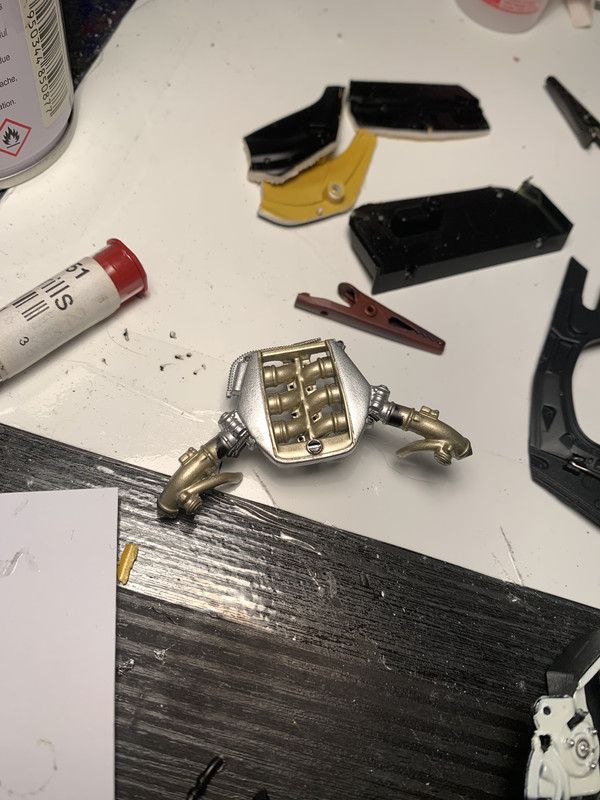
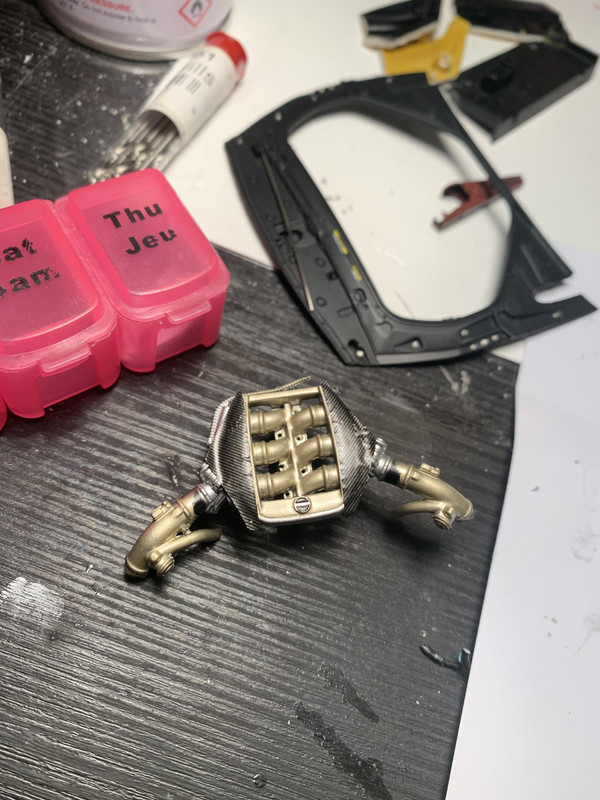
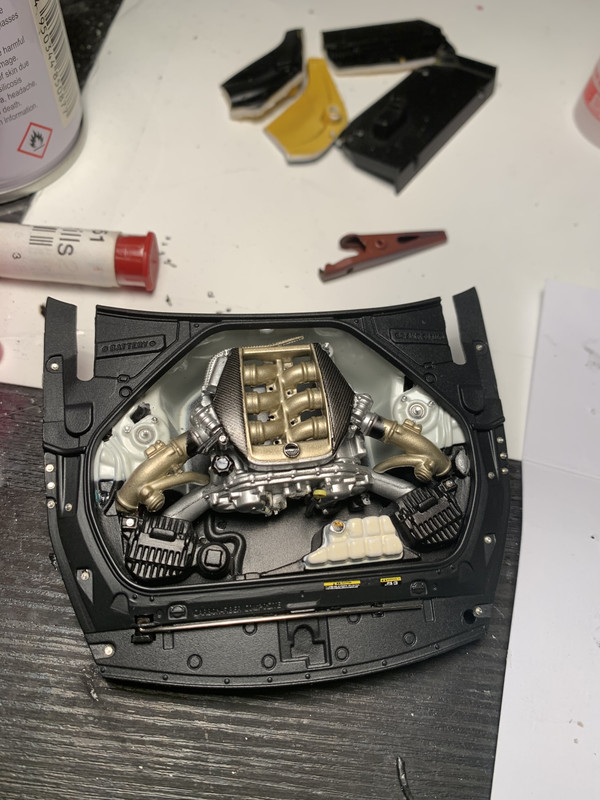
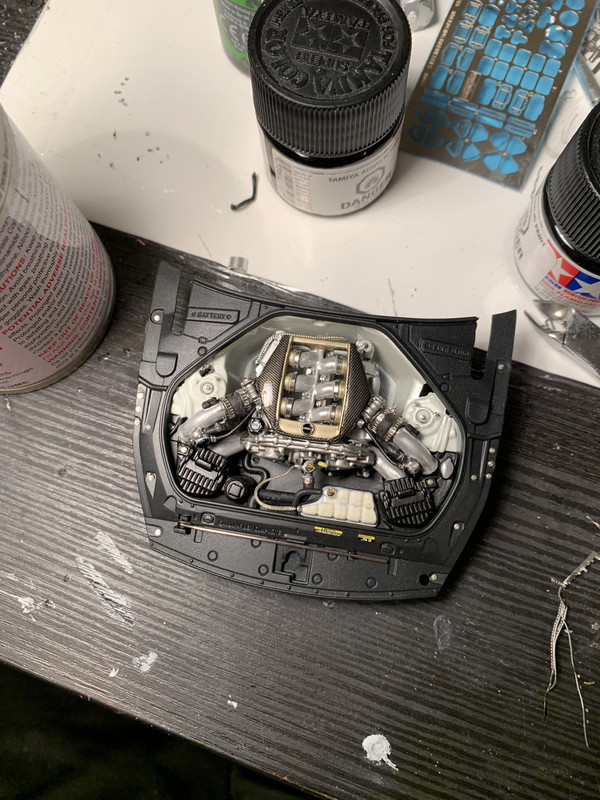
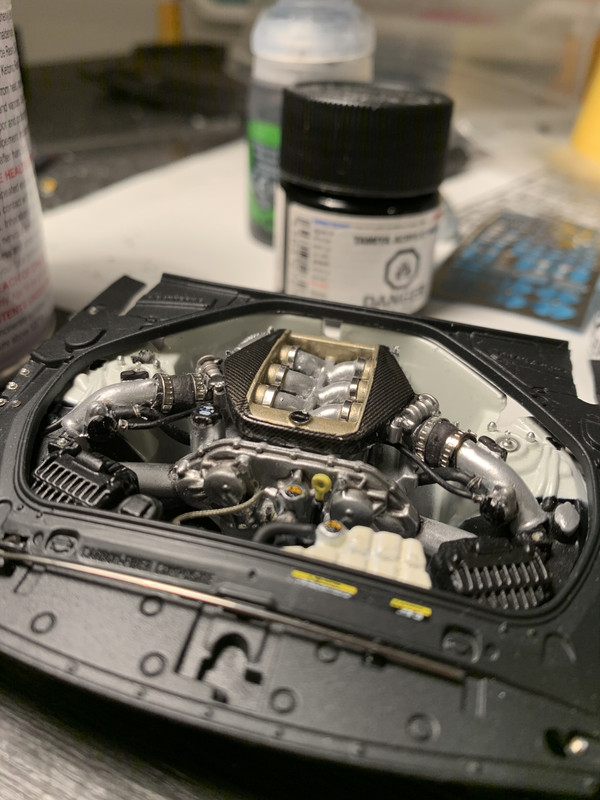
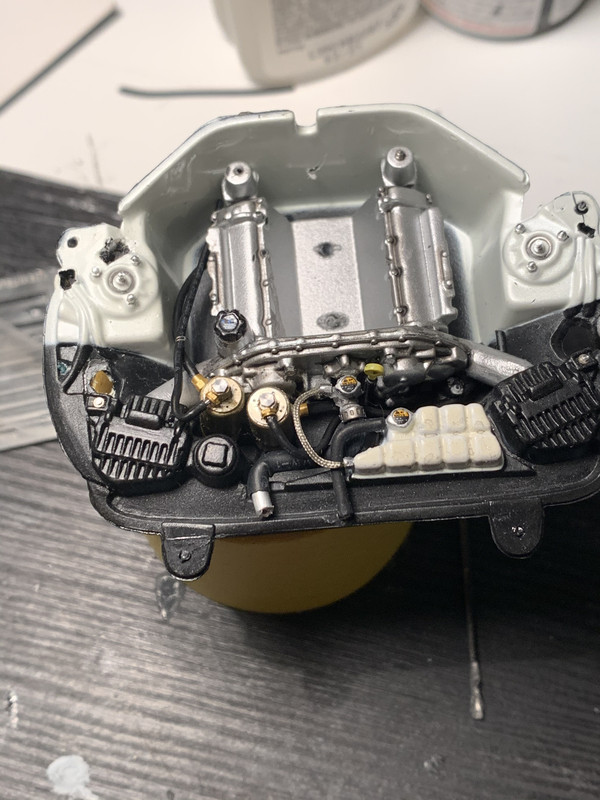
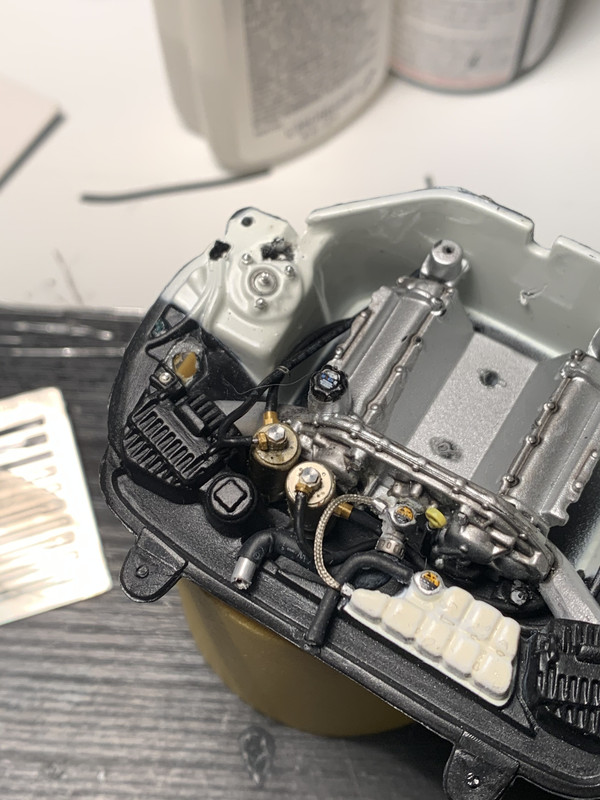
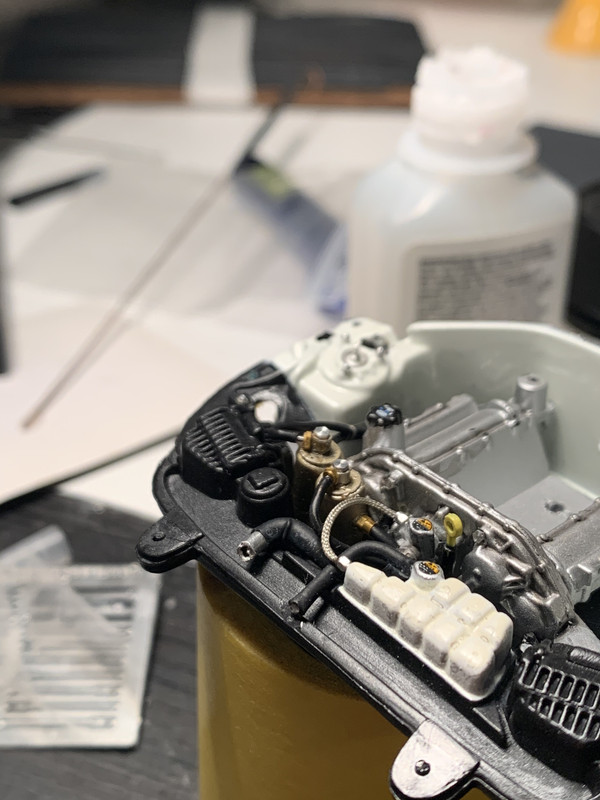
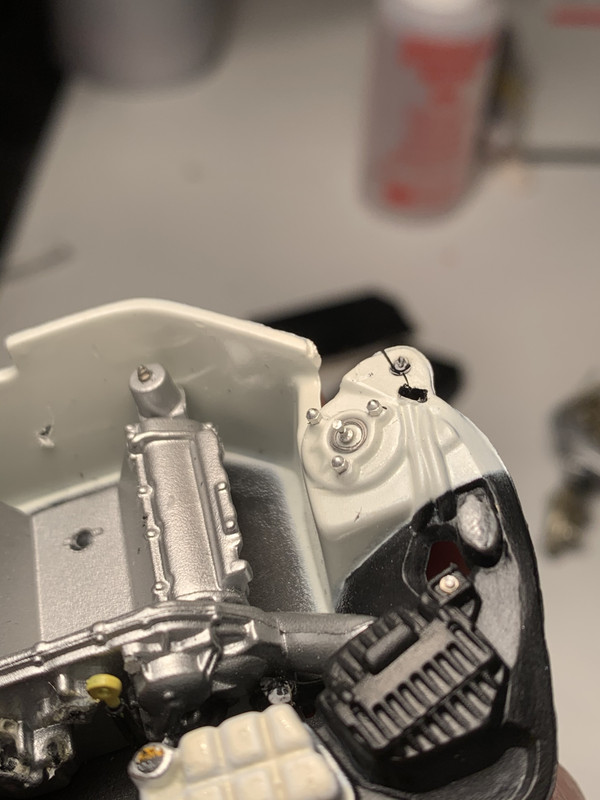
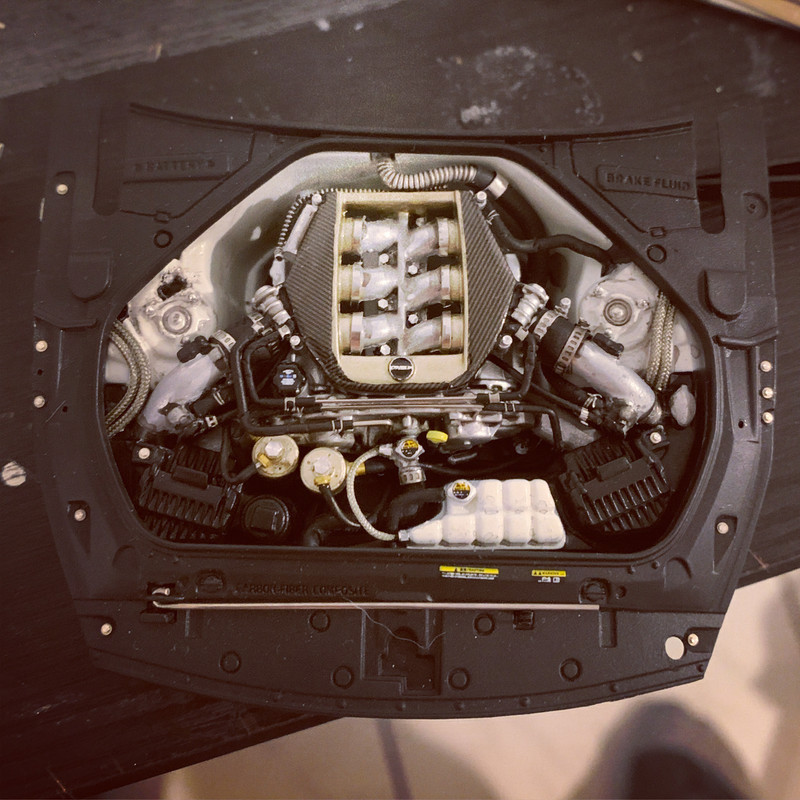
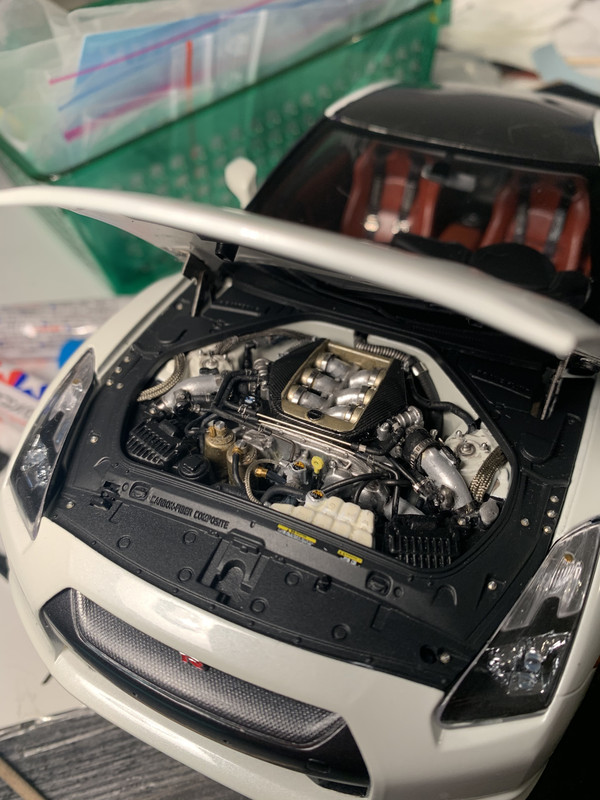
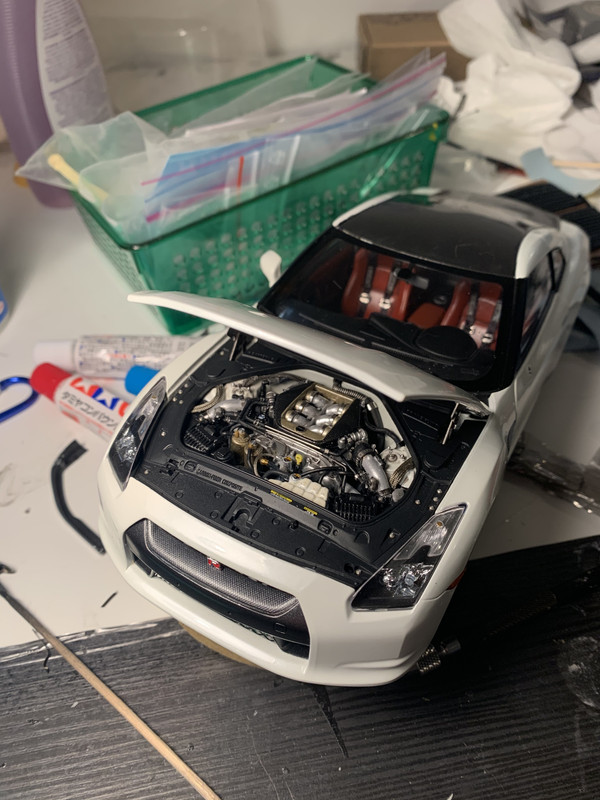
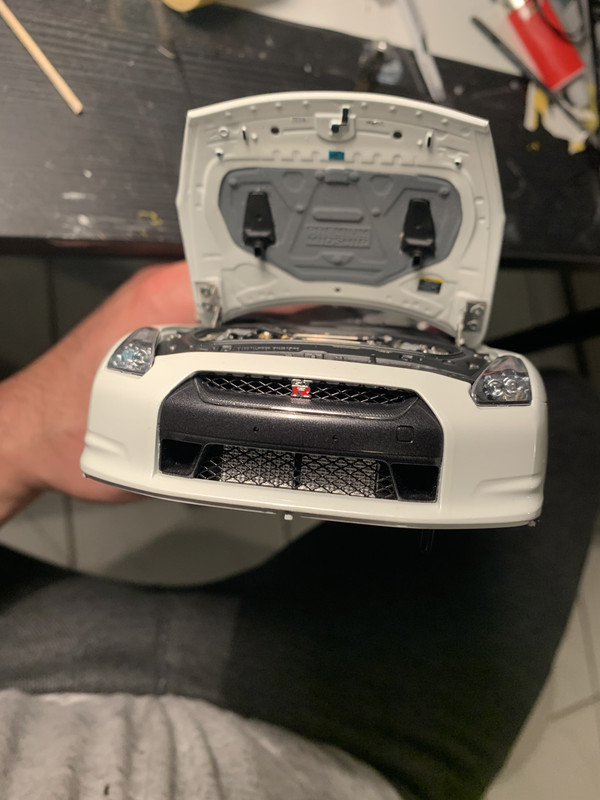
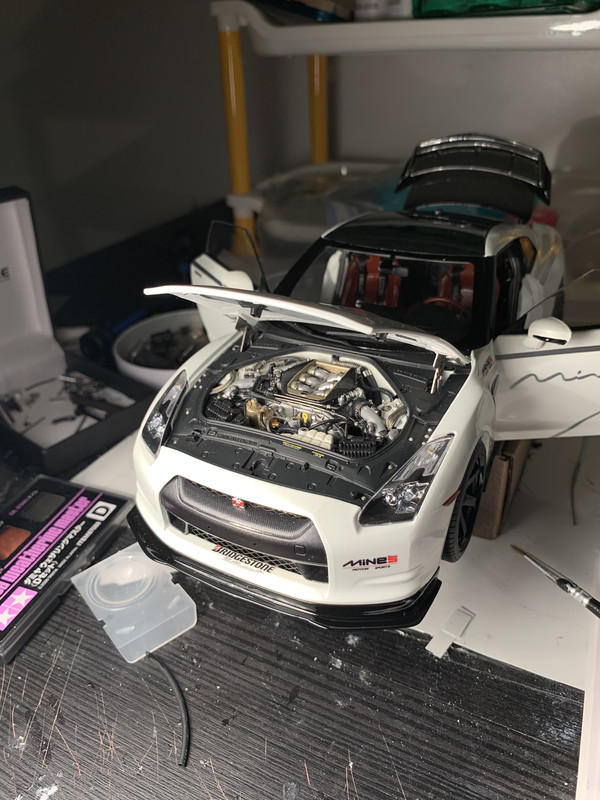
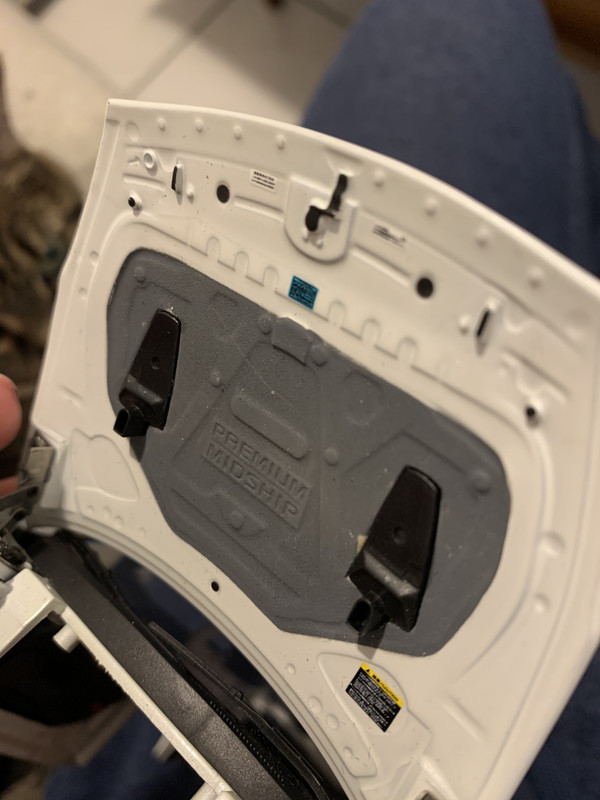
and the outstanding detail under the hood

Image


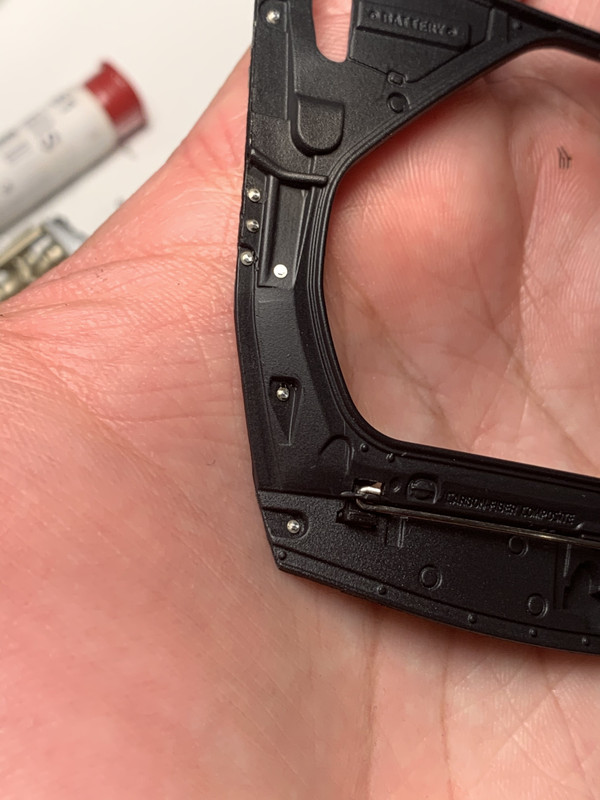
Also the Kyosho is a lot more solidly built. It was much more difficult to take apart than the Autoart and the packaging is much more special as well.

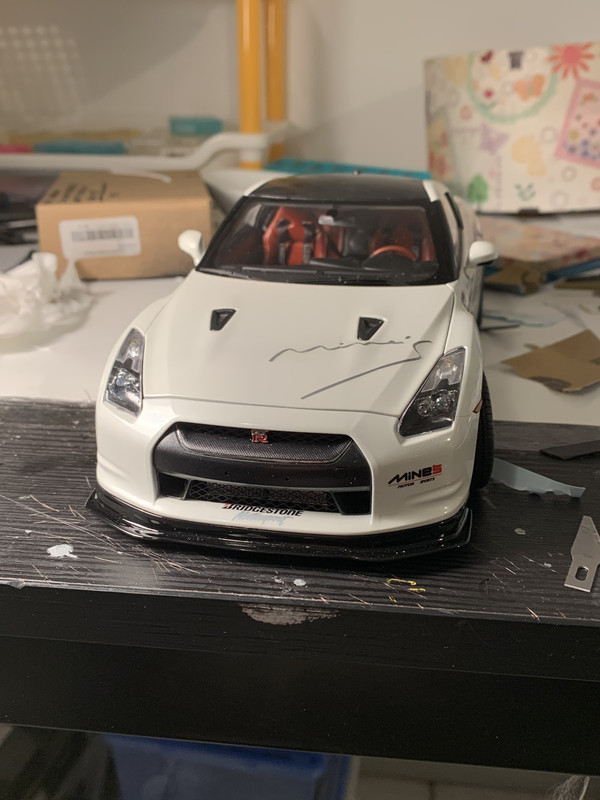
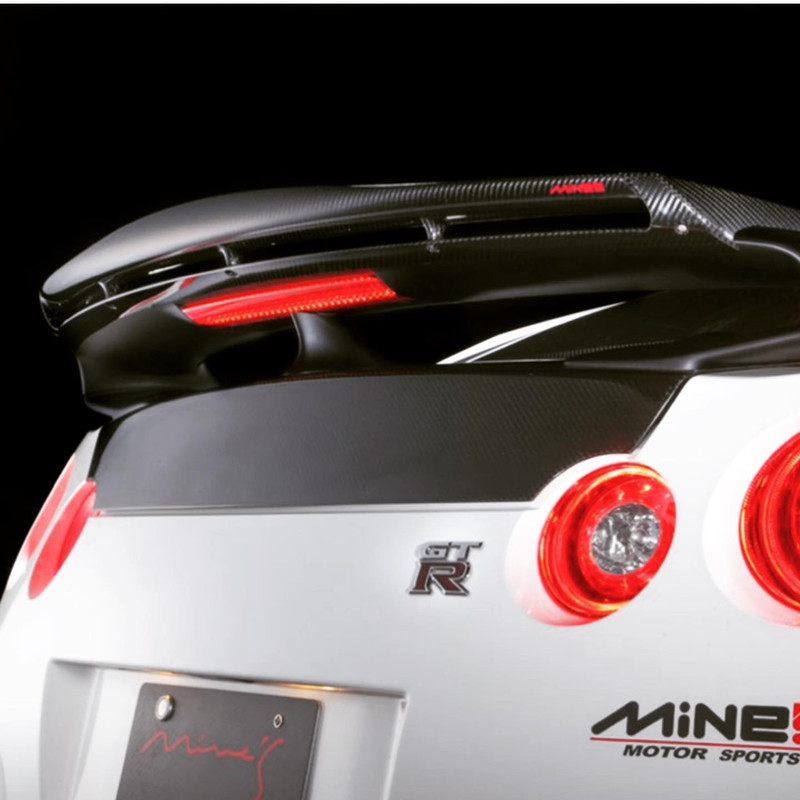
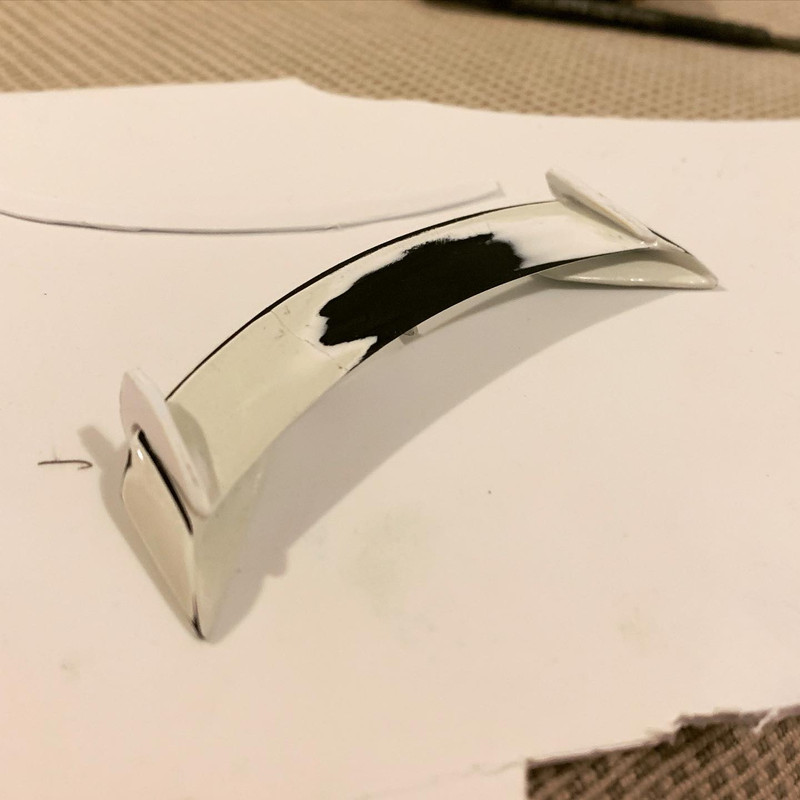
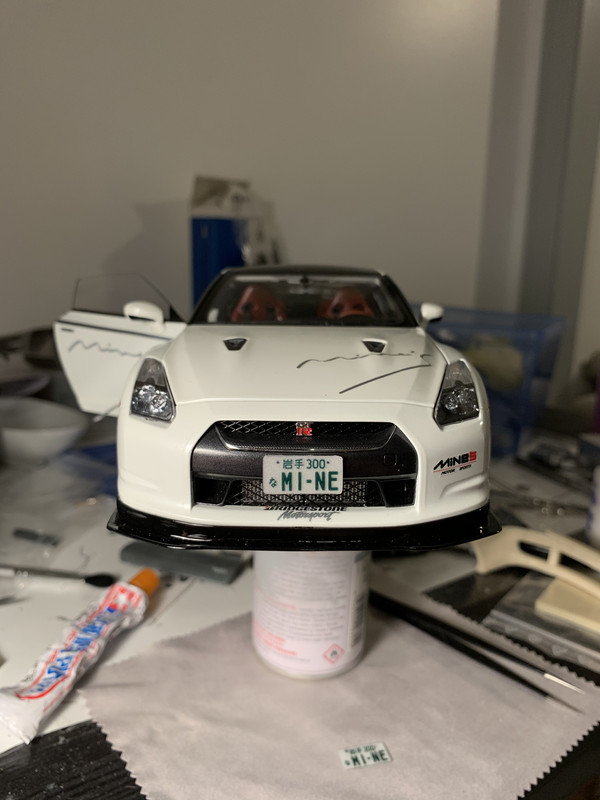
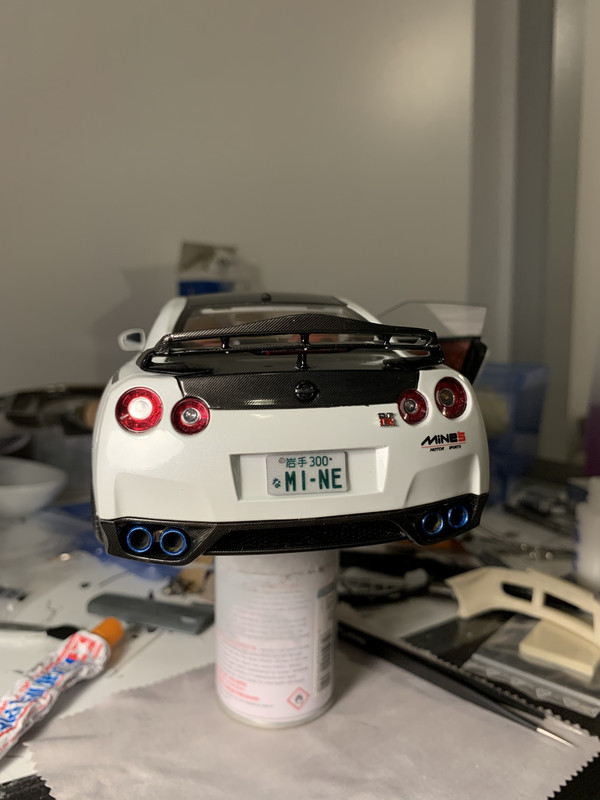
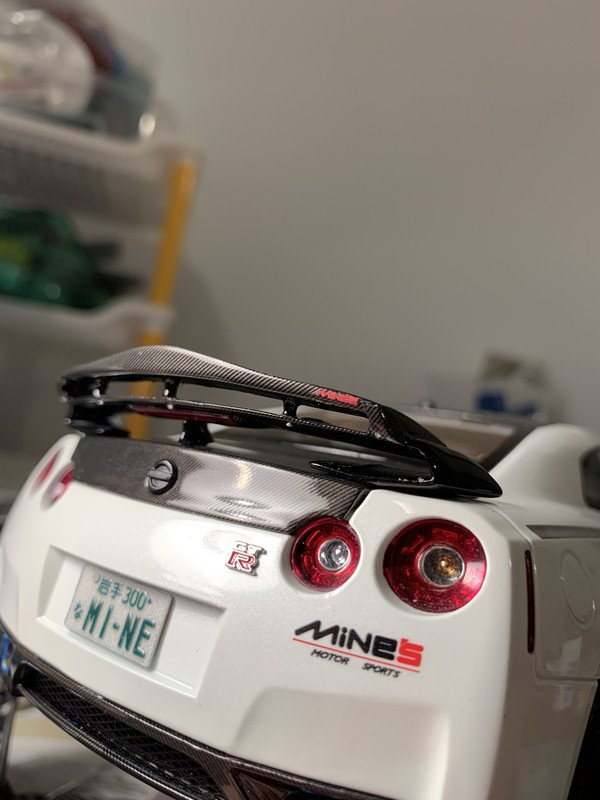
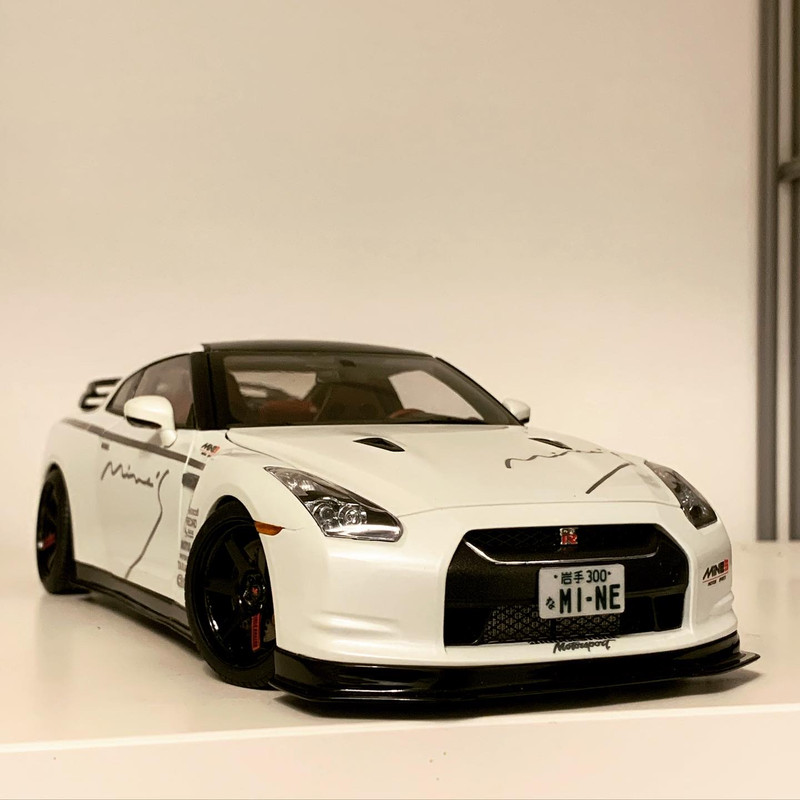
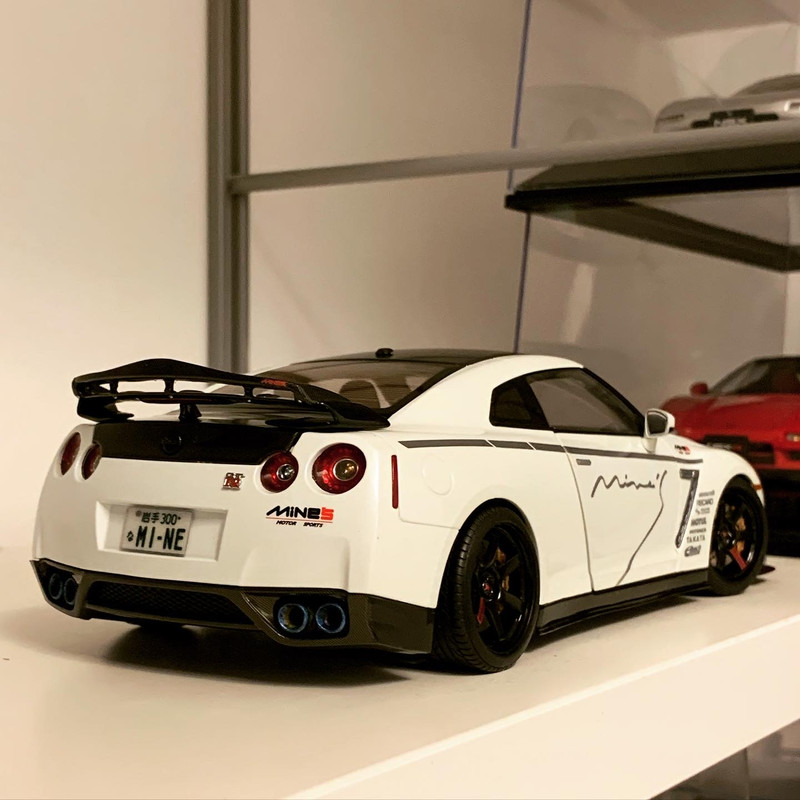
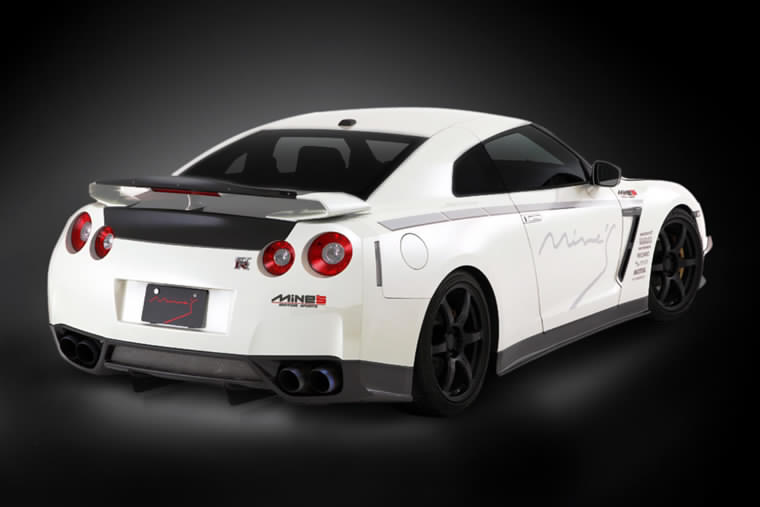
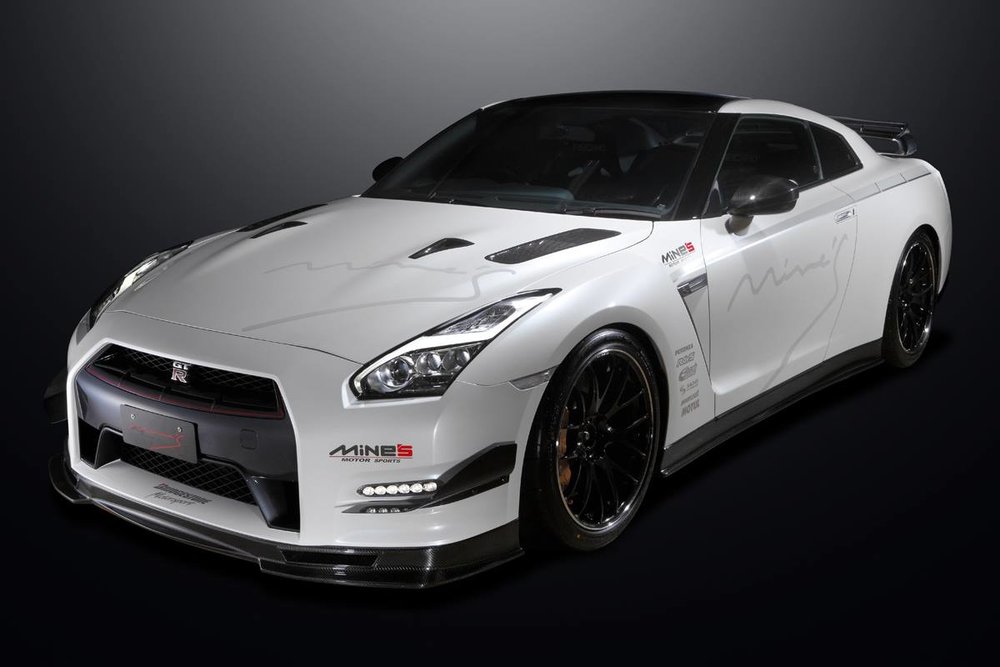
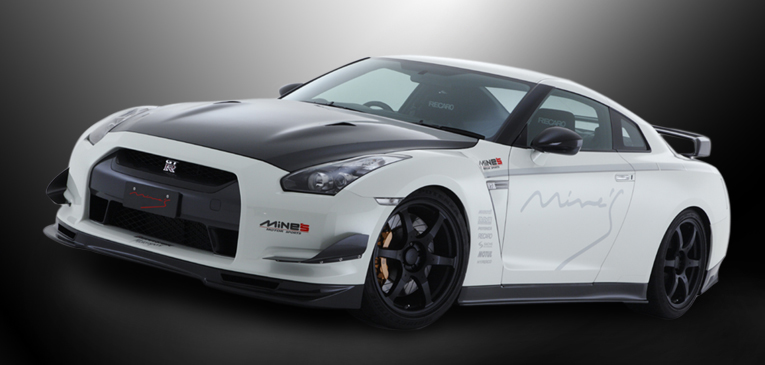
Anyway, the Mine's R35 is something like this:

Image


Image


Image


There are many variations and permutations as it is just a parts list that a customer chooses from.

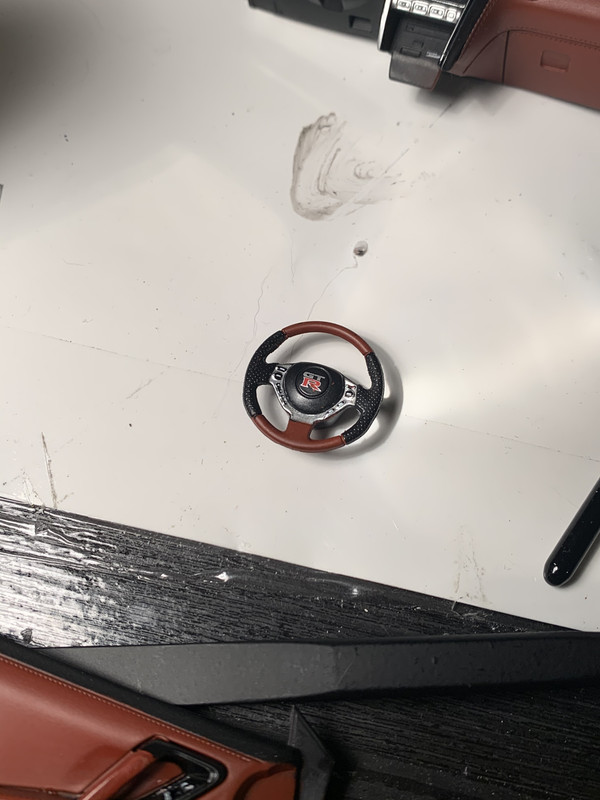
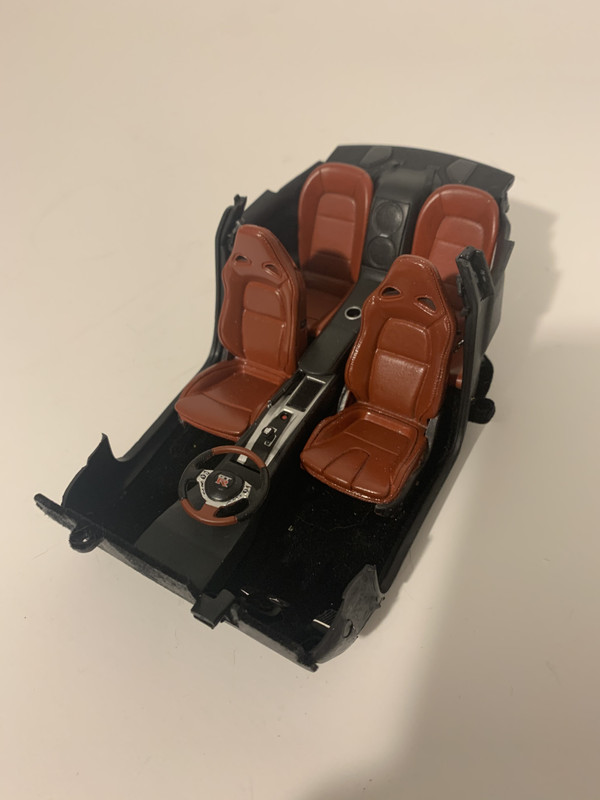
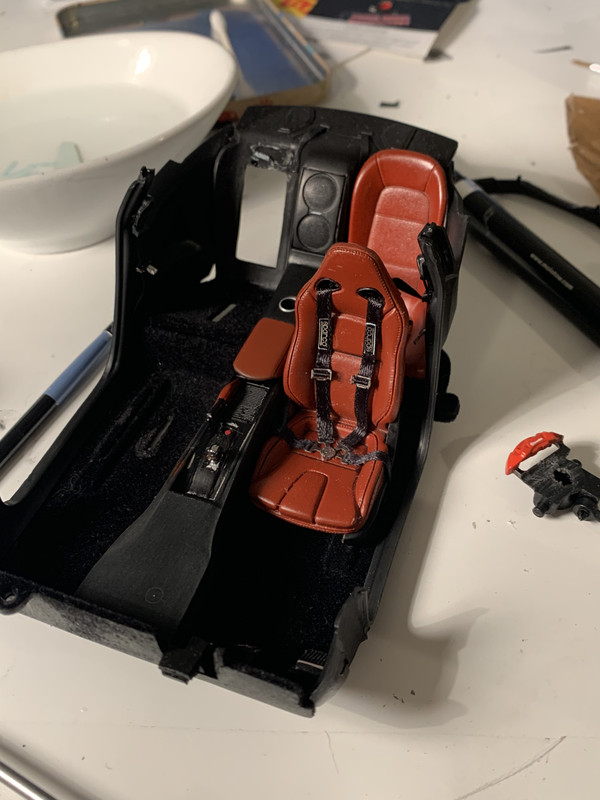
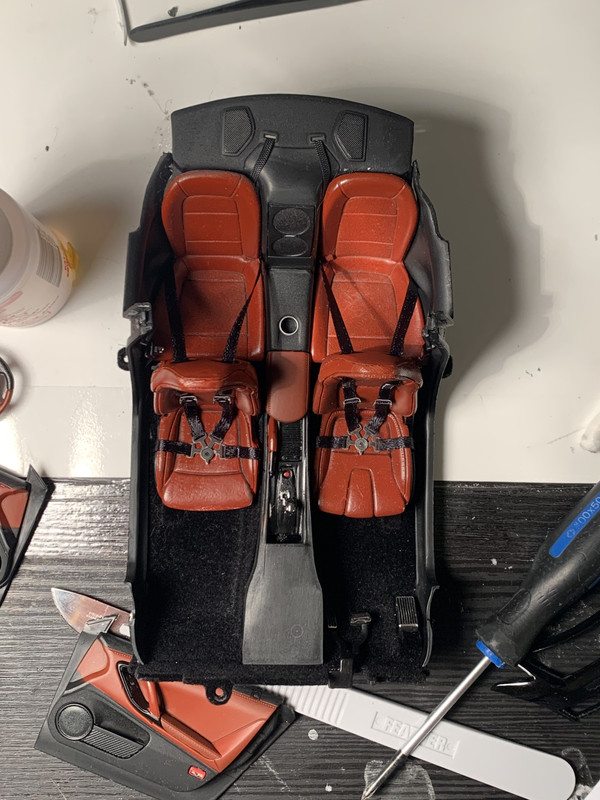
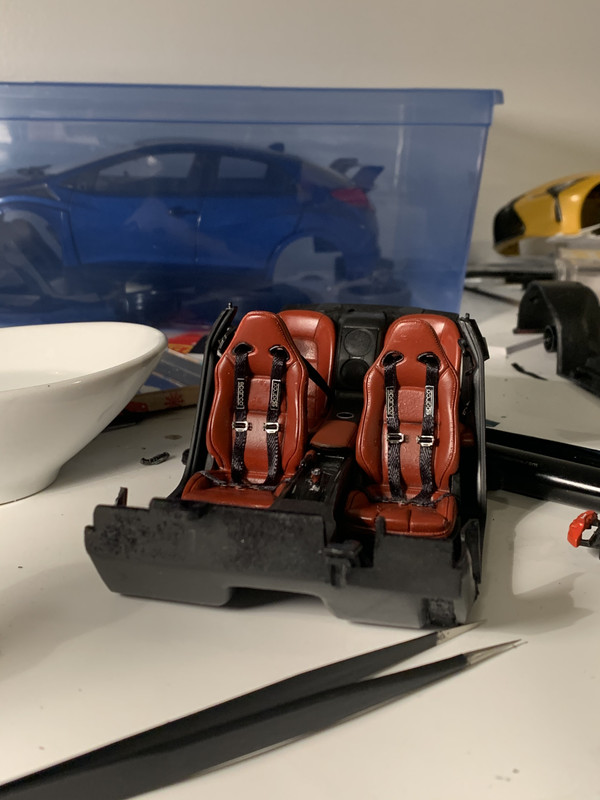
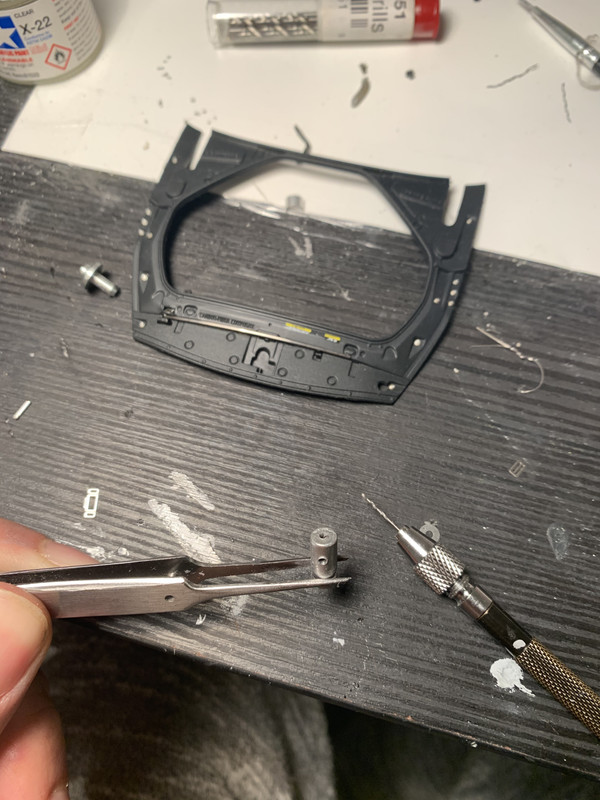
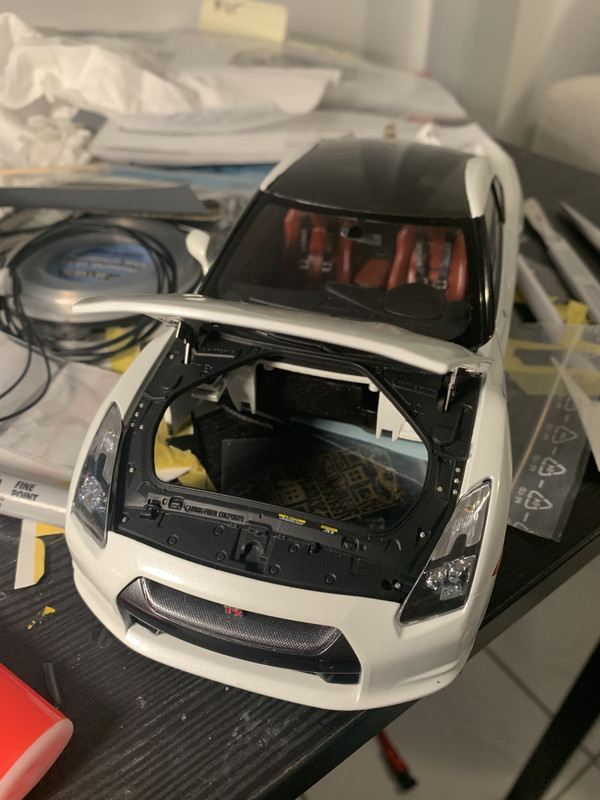
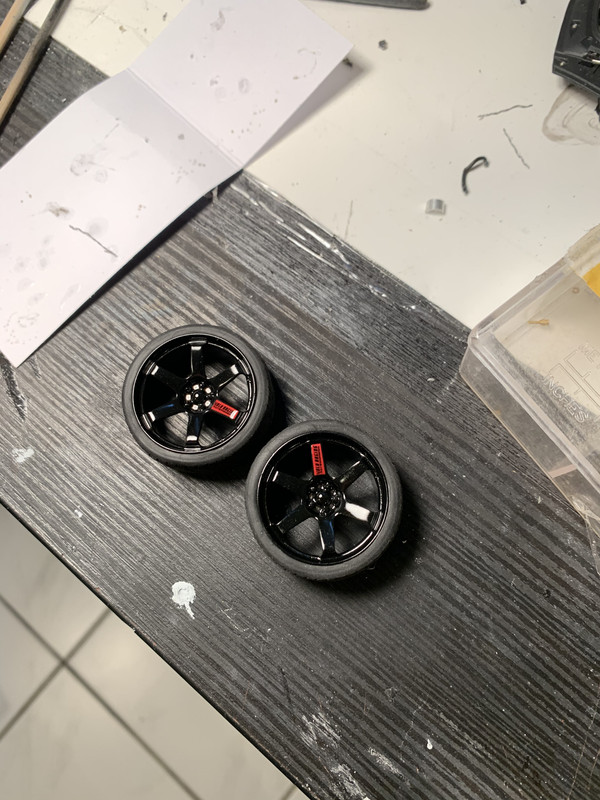
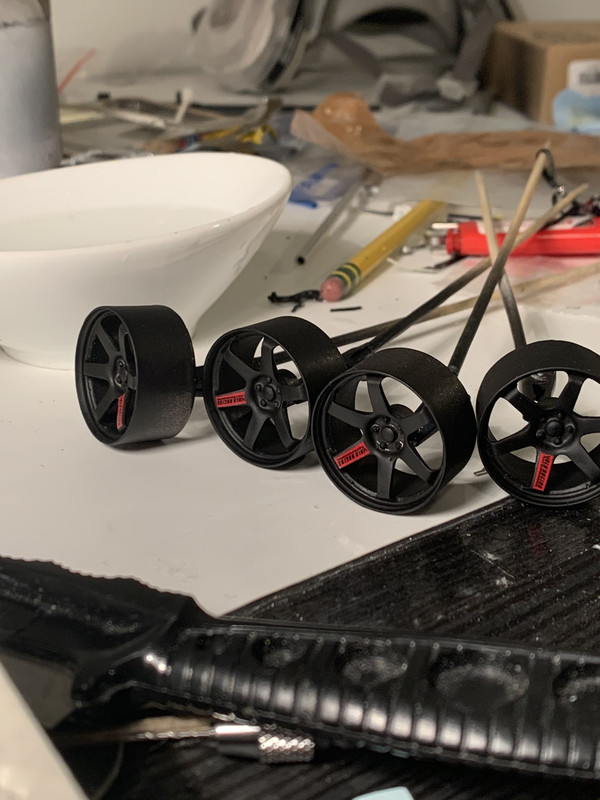
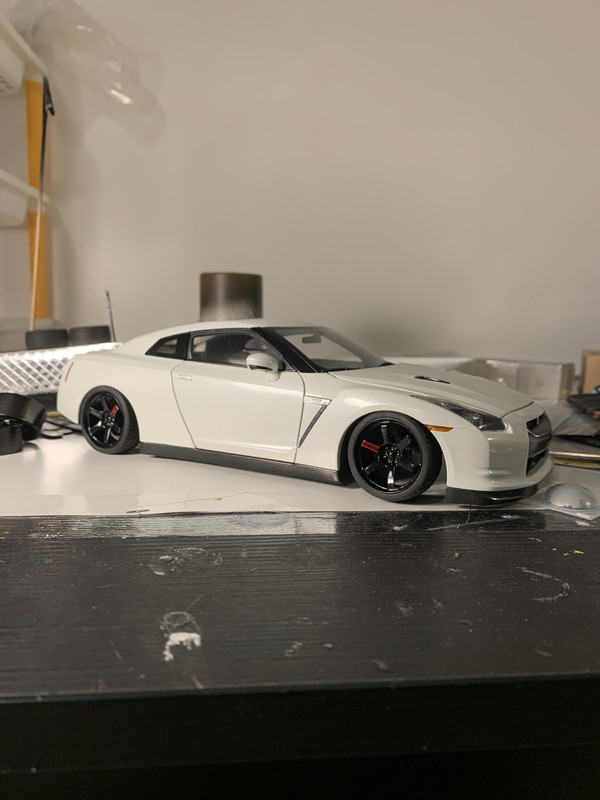
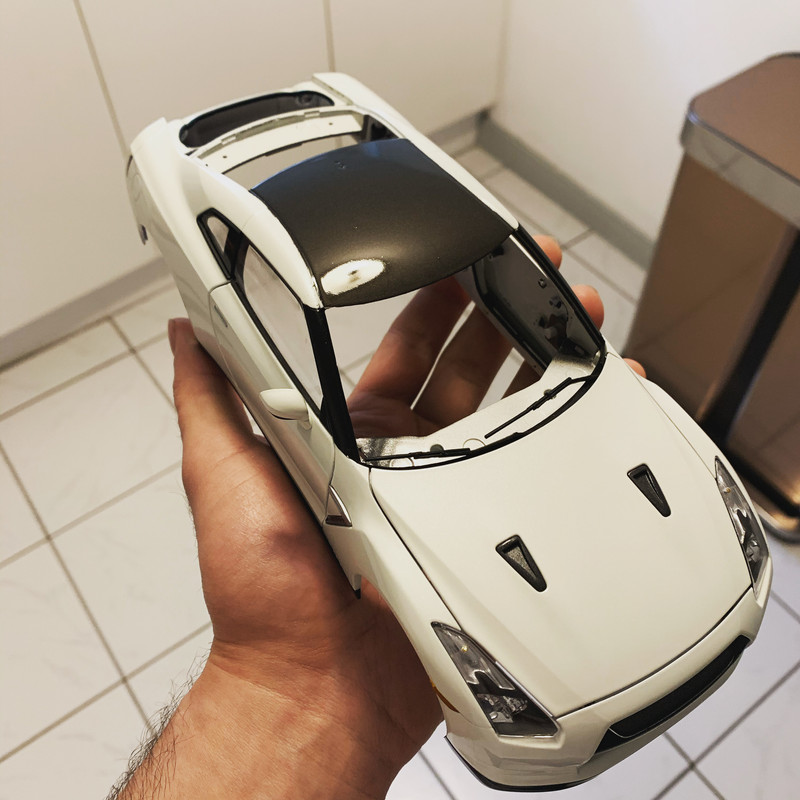
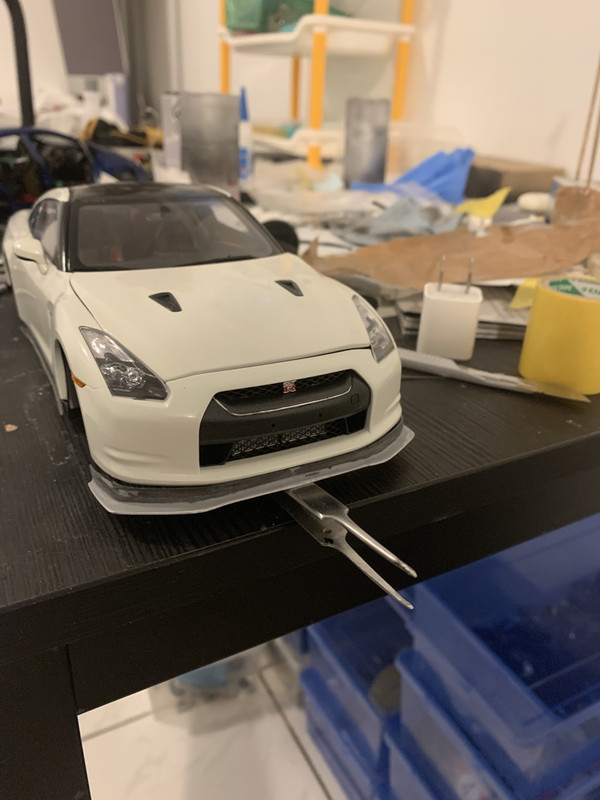
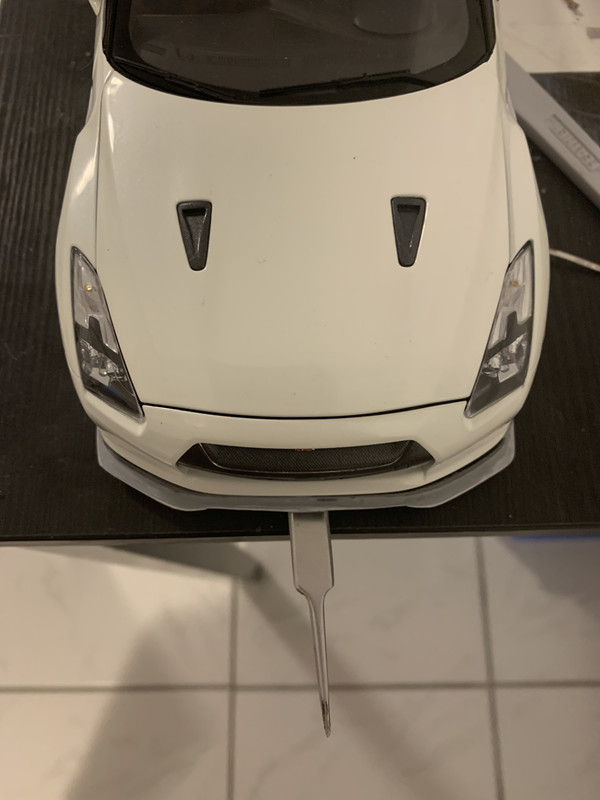
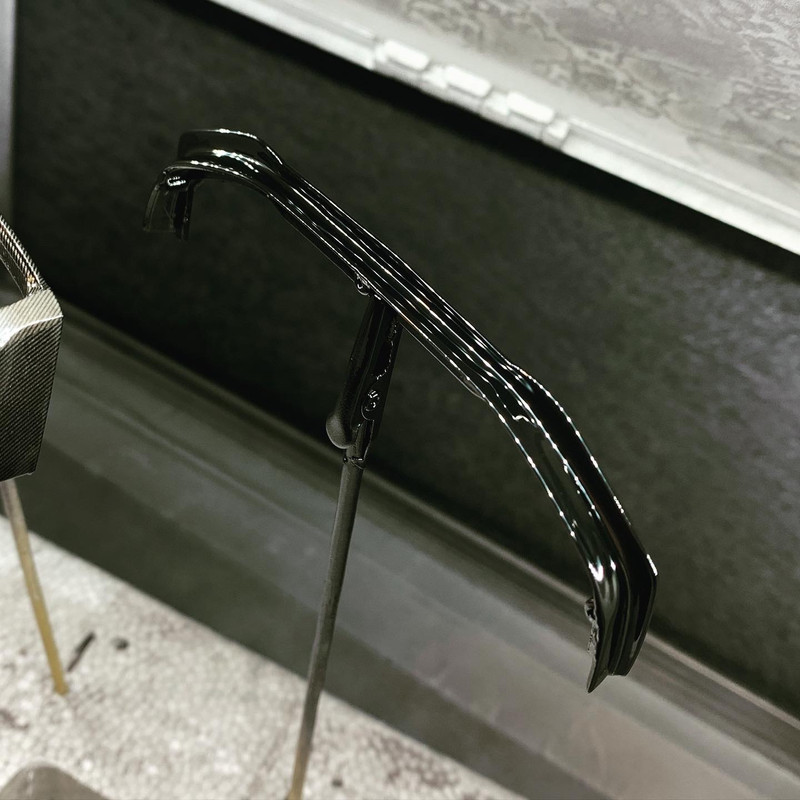
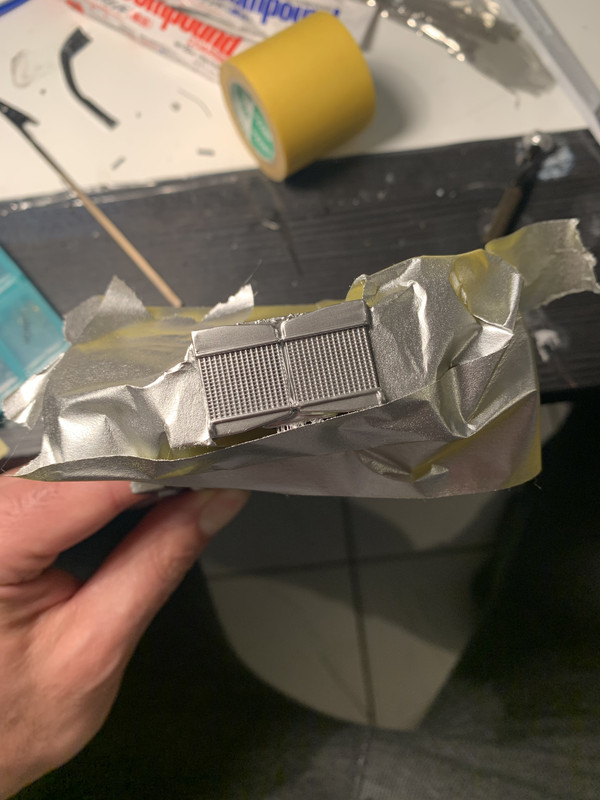
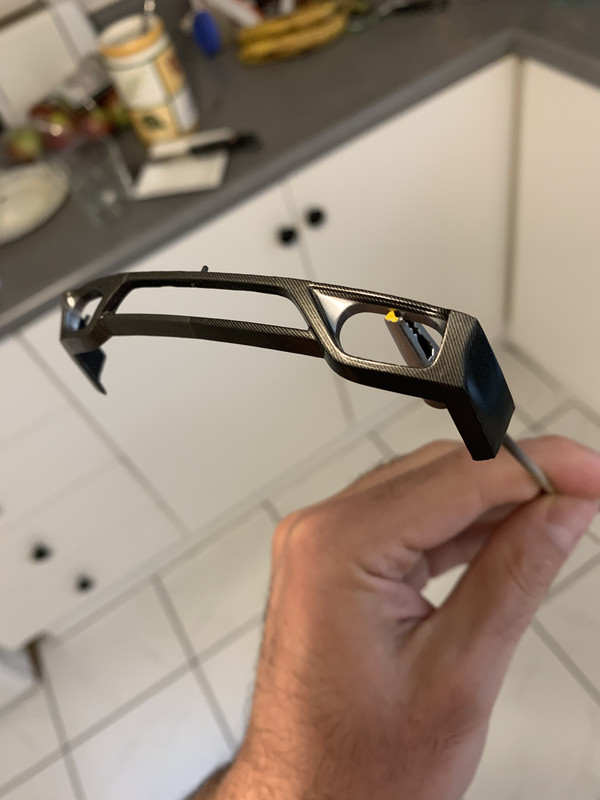
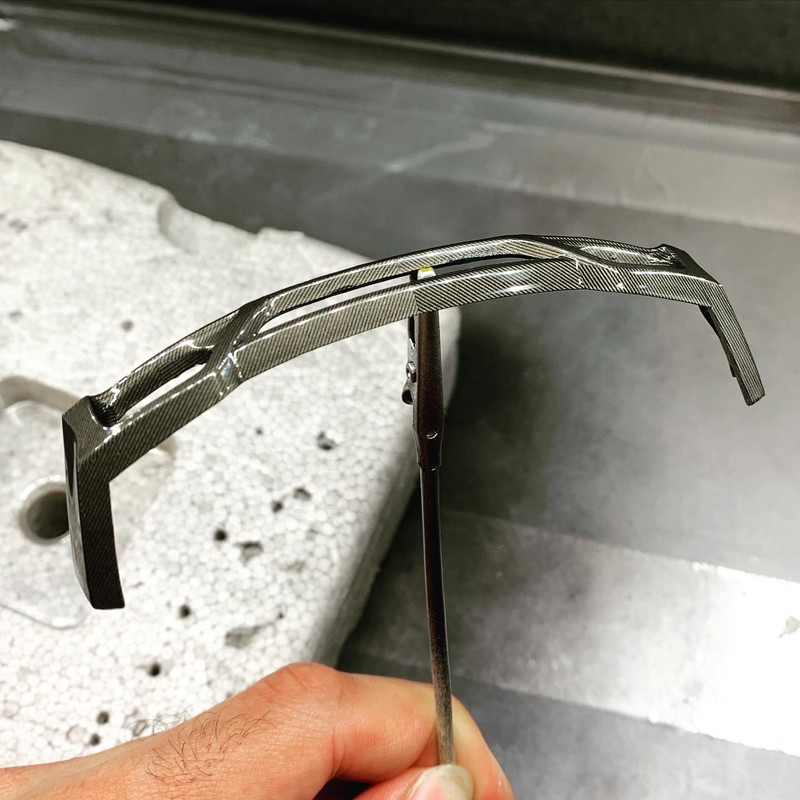
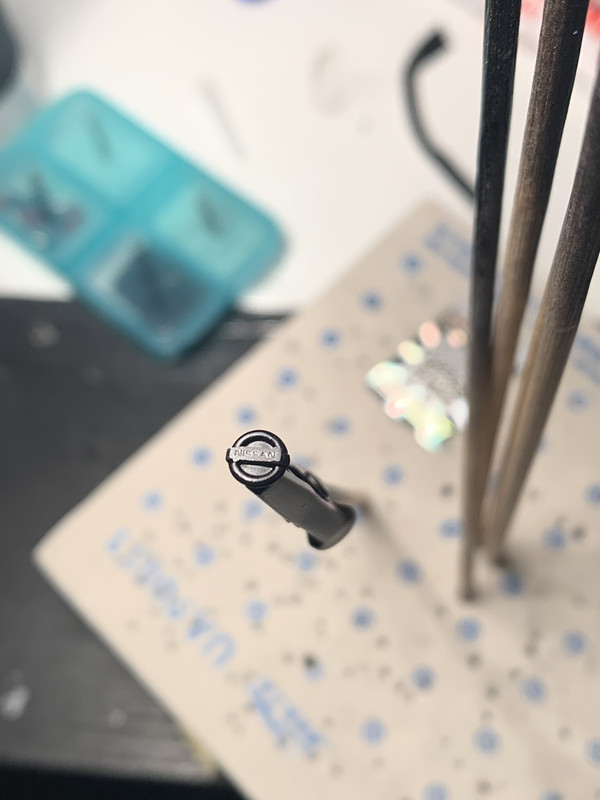
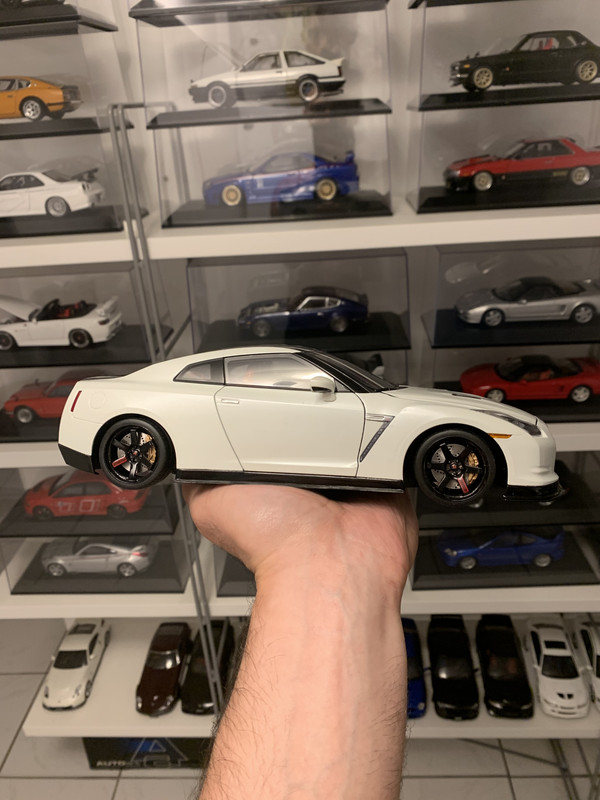
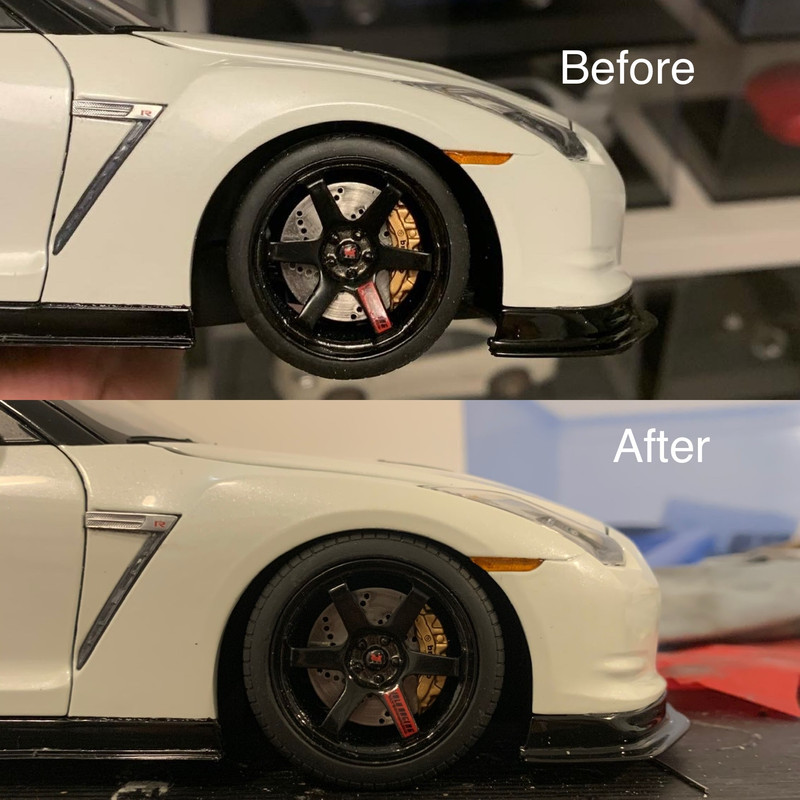
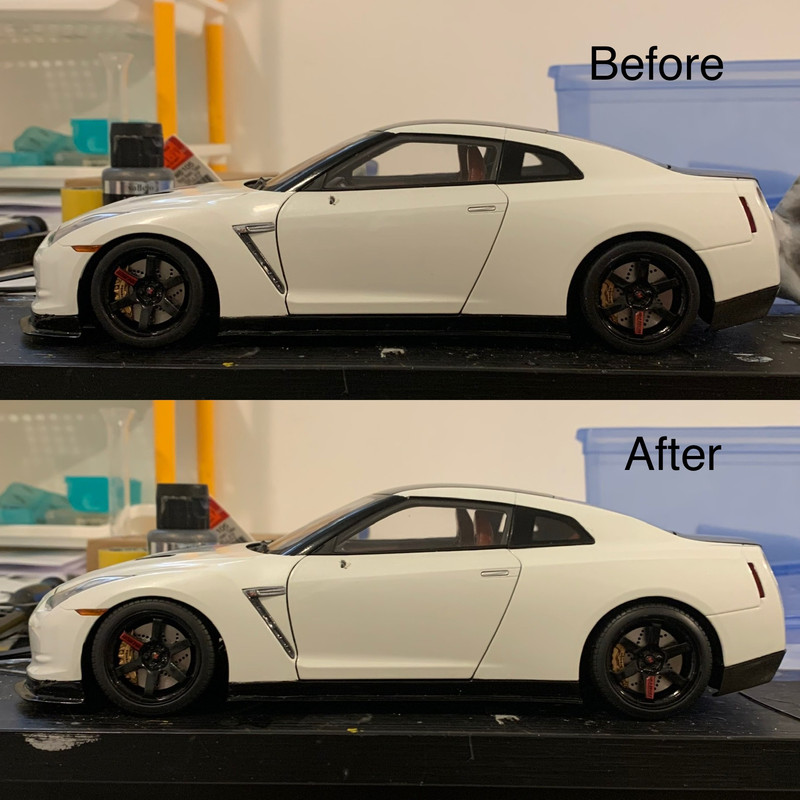
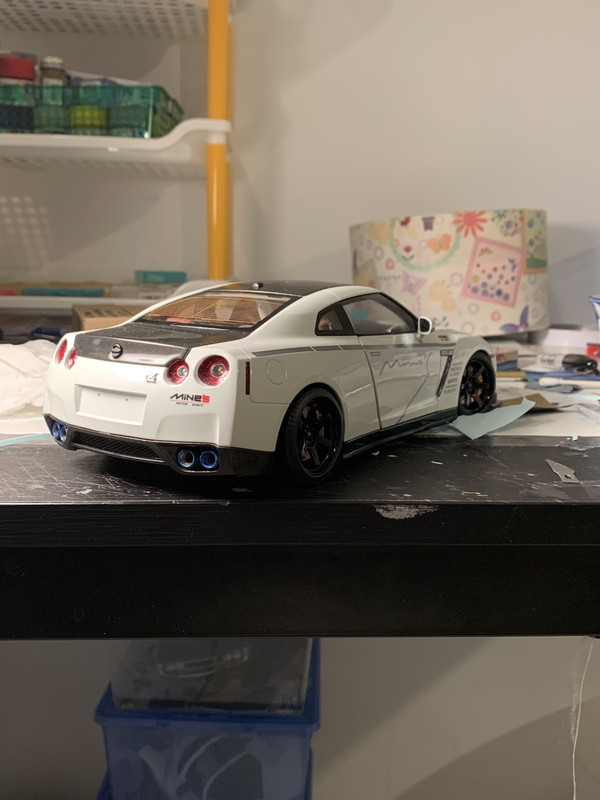
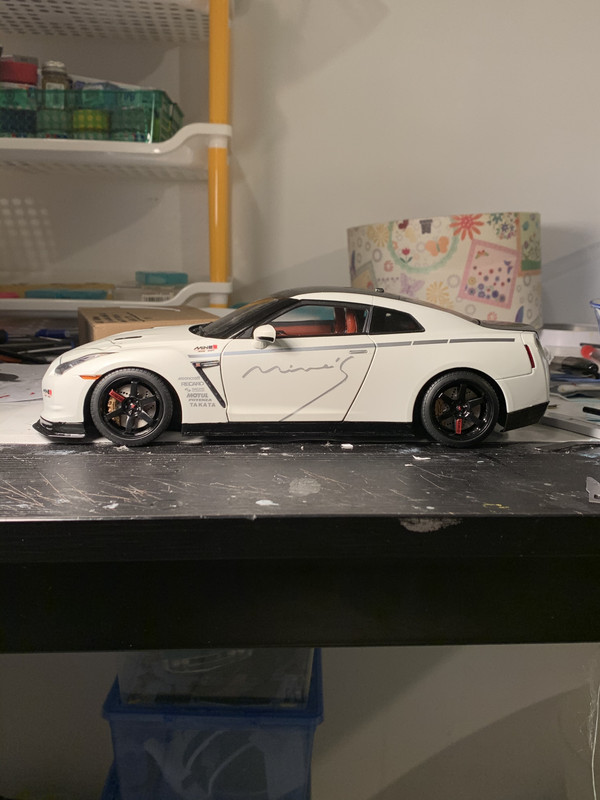
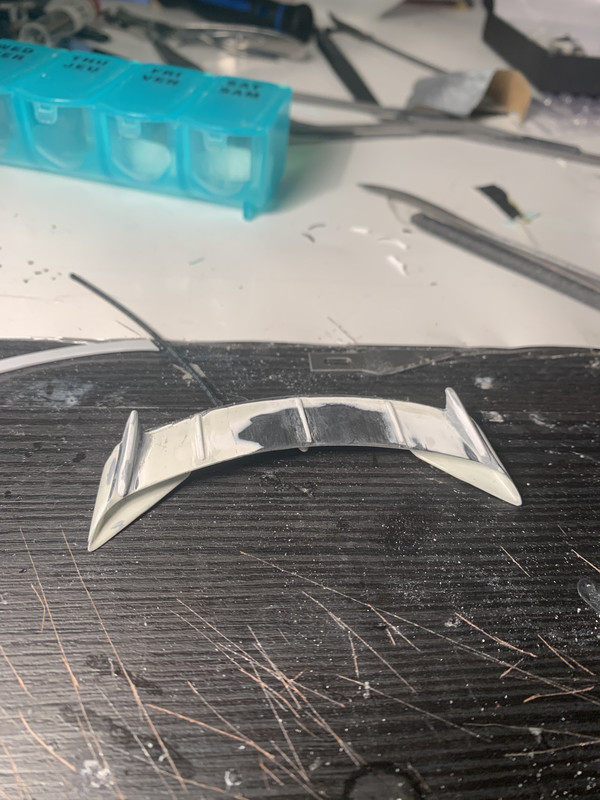
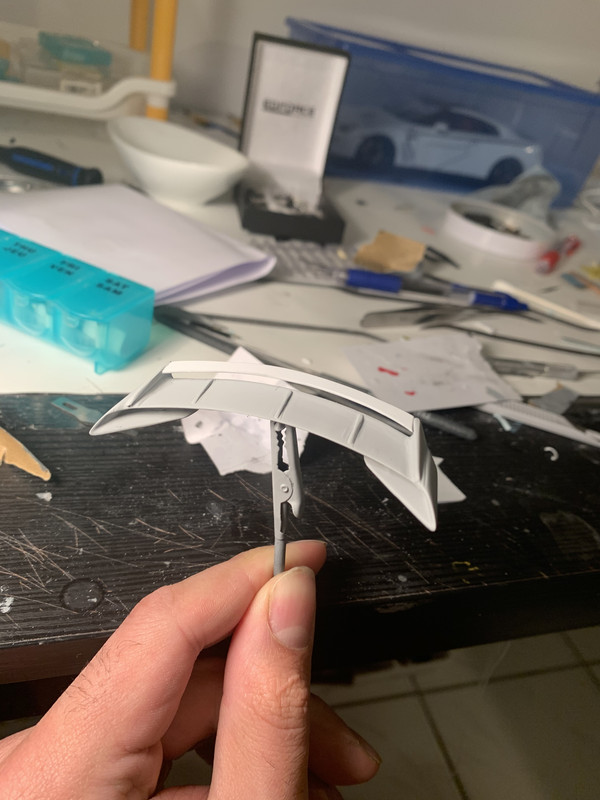
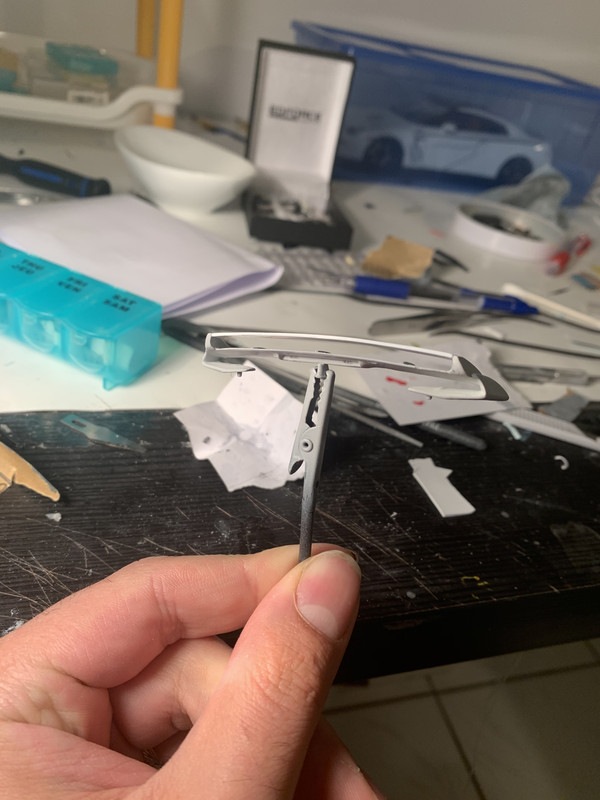
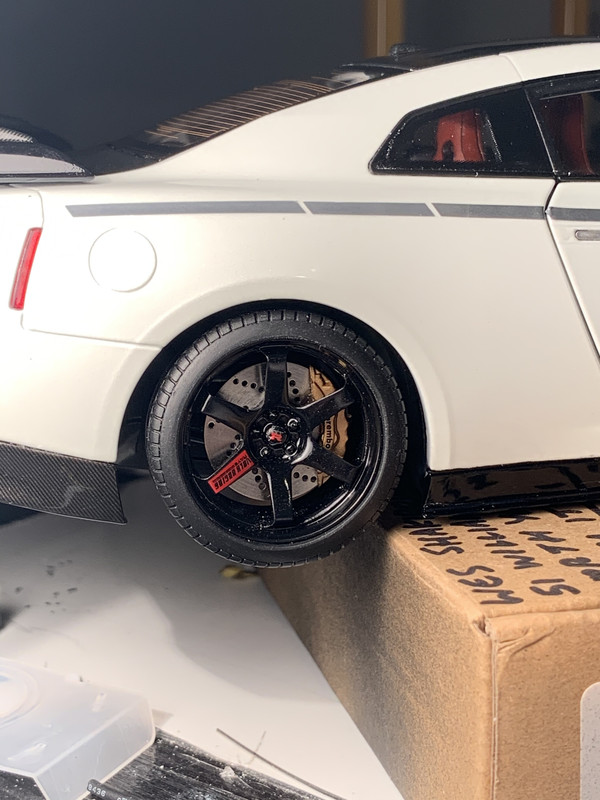
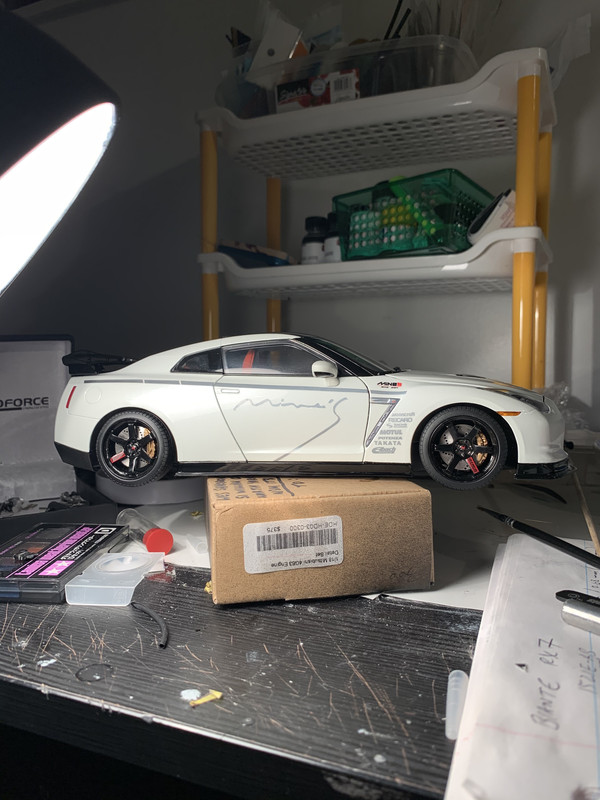
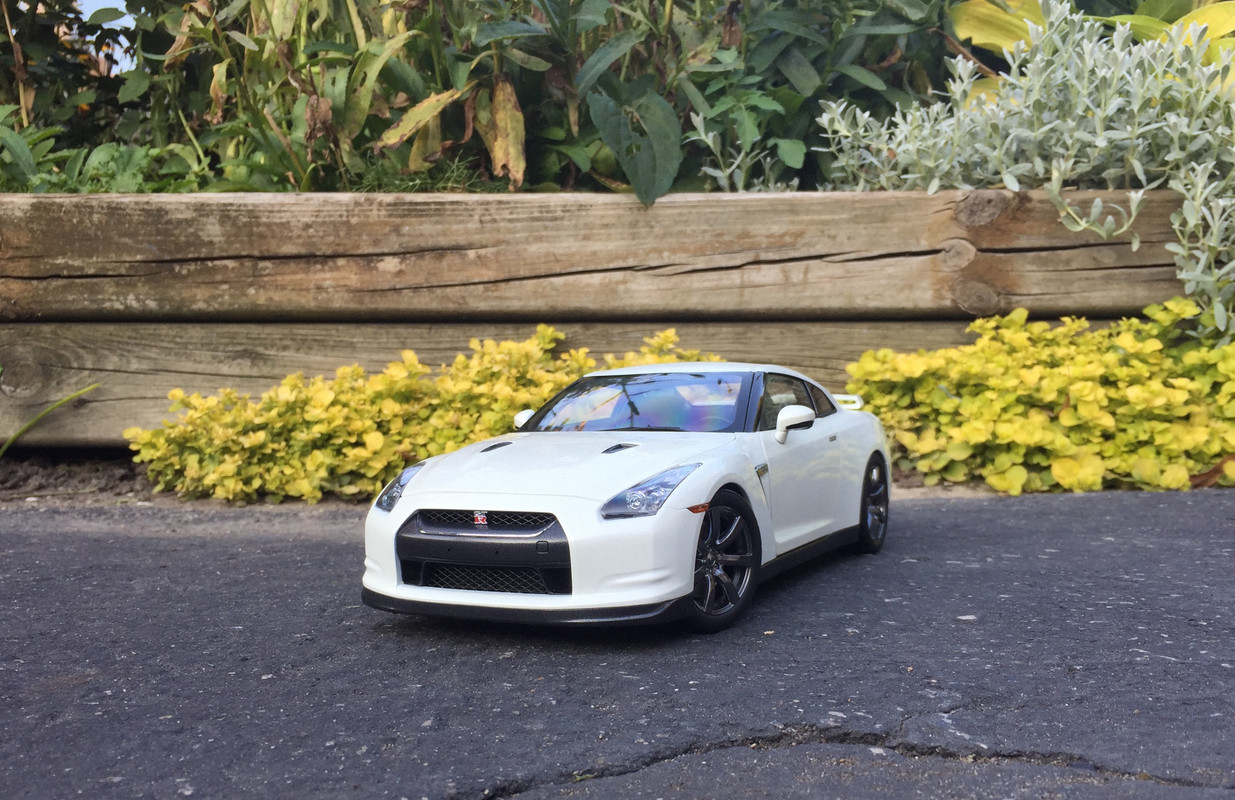
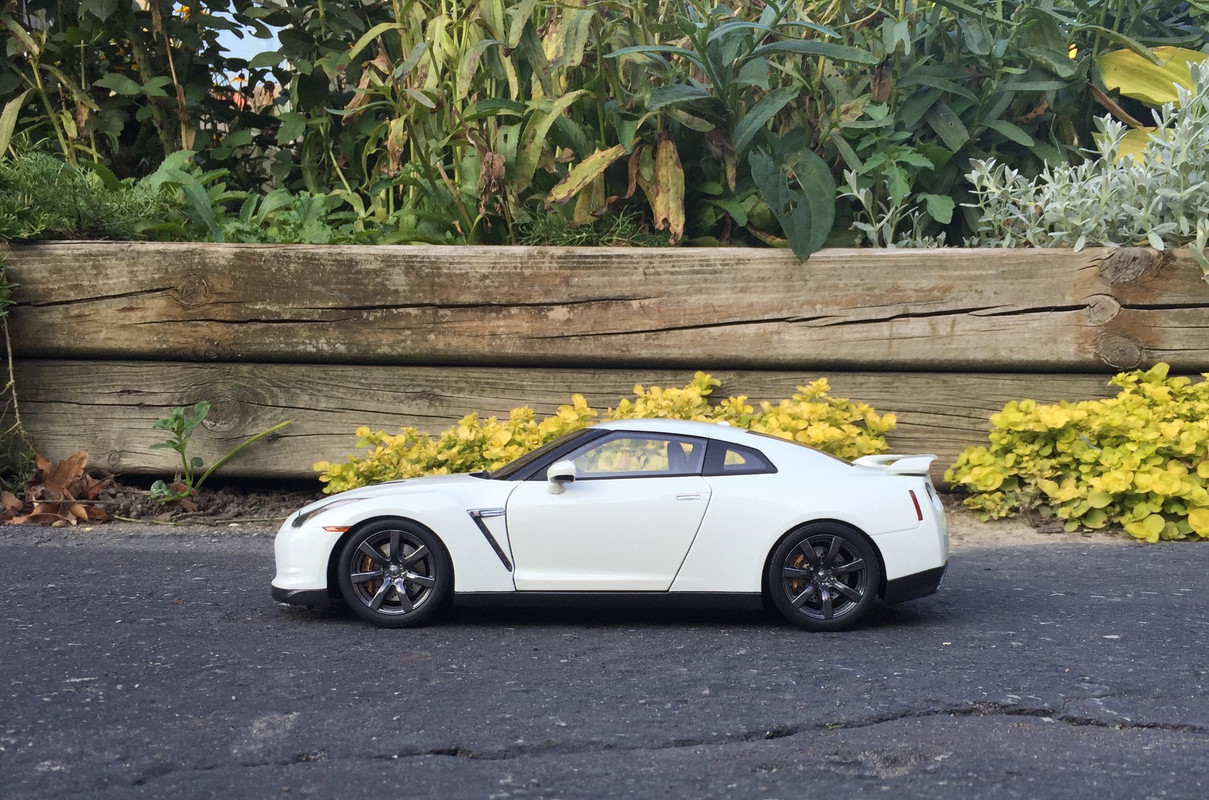
And here are some before pics of the model itself.

Image


Image


Image


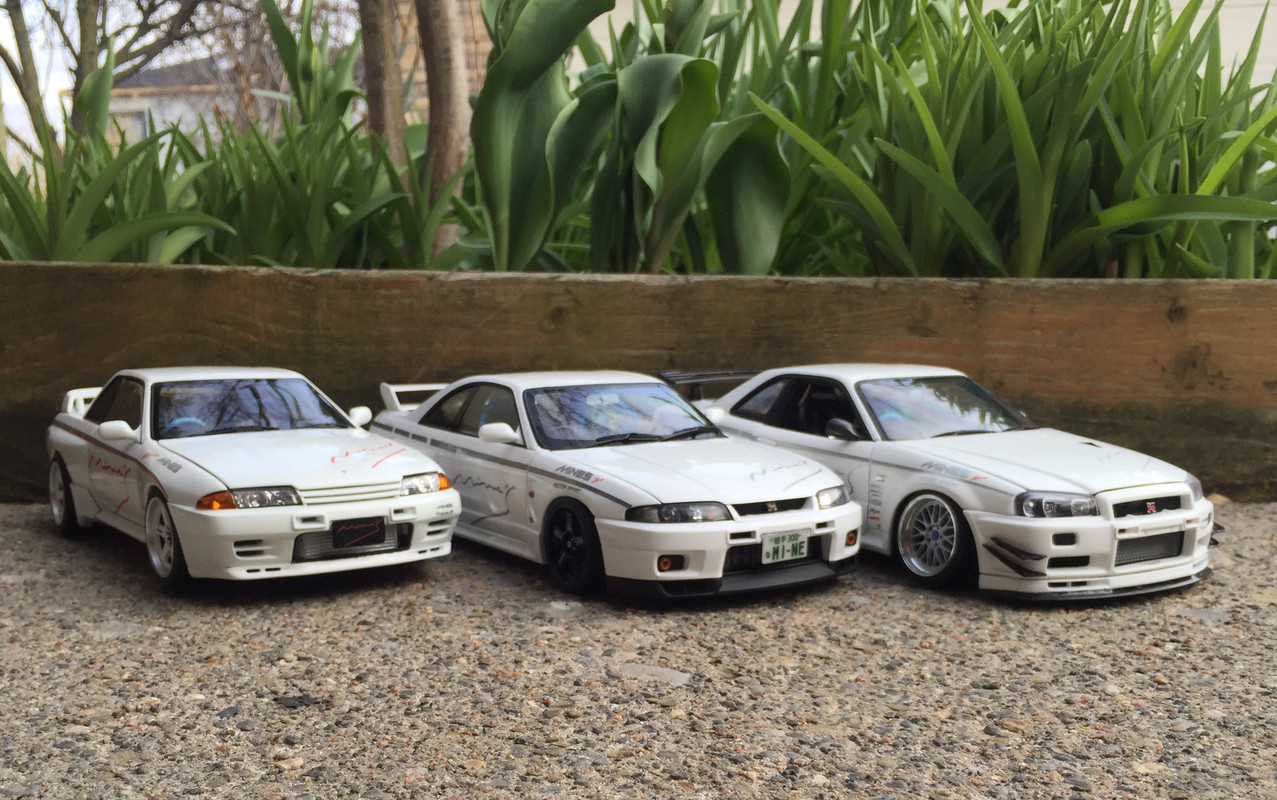
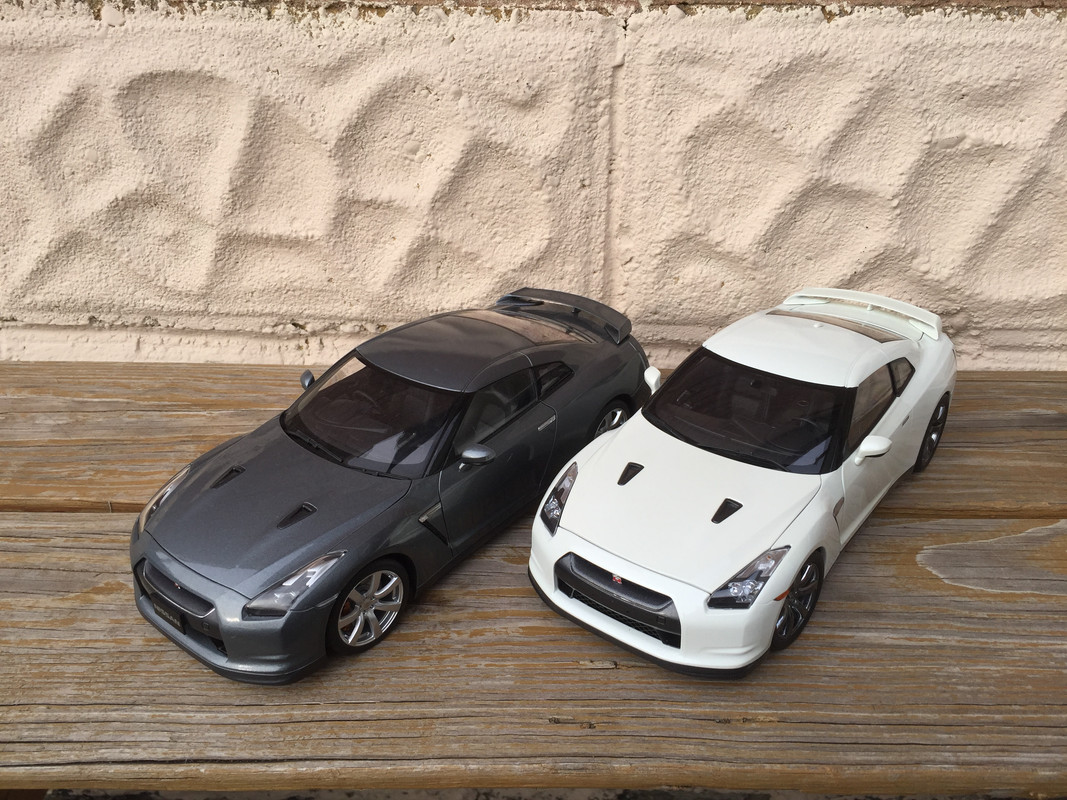
And here's a pic with an Autoart version, of which I have 3. The one you see here actually has the most extensive paint rash I've ever seen. Ironically the Kyosho has none.

Image


I'm actually quite far into the build now, almost done in fact, but it is late now here in Toronto and I'm going to bed so I shall post the rest tomorrow! Stay tuned
 
#3 ·
Lately I've been starting with the interior a lot, and this time I wanted to make it classy. I was really inspired by this Amber Red interior

Image


Masked the parts using tape and liquid mask

Image


Image


Image


Painted them

Image


Image


Image


Image


Image


I opted for simple, classic harnesses - Sparco in black

Image


Image


Image


Image
 
#4 ·
After that I started on the engine, which is always my favourite part. Modern engines are kinda tough to work on because they tend to be very cramped affairs. Anyway, this is the stock engine - not too shabby and lots of room for improvement.

Image


Take that apart

Image


Image


The engine bay cover is an especially dull looking thing so I started with that. I used RB Motion washers and bolts to add a bit of something to it. It's a small but effective change

Image


Image


After that I went to work on the intake manifold cover.

Painted it gold first

Image


Added some carbon decal

Image


After some decal softener

Image


I seem to be missing some intermediate pictures of it but basically what I did was add 6 segments of longitudinally bivalved alu tube to each intake duct, 6 machined bolts, clear coated the carbon, added a bunch of other wires and rivets

Image


Another angle

Image


No self-respecting track car goes without oil catch cans, so I started on those

RB Motion bolts

Image


PE washers

Image


Transistors from a computer parts store (yes you read that right) with 2 holes drilled in them

Image


Pop those other two in there

Image


Two more metal parts - a connector for the side of the body and a nut for the top portion - both brass

Image


Image


Oh and I did mention that there were two of them

Image


Attach the plumbing - glue technology has really come a long way. I really have no idea how these things hold on

Image


And in they go - a VERY tight fit

Image


Image


Image


Some rivets for the strut tower - there is also a PE ring in the coilover well, if you can spot it. Lastly, the coilover damping adjustment knob goes in the middle.

Image


Engine cover in

Image


And the rest of the engine with lots of other wires and tubes

Image


Image


Image
 
#5 ·
After that I went to work on the wheels, and again, since this is a track car, the smaller the better. The most common choice for GT-Rs is 20" it seems, but I went for 19" TE-37s that I bought from TK Diecast in 2017.

I opted for gloss black with a red spoke decal

Image


Image


The initial dry fit looked promising.

Image


Image
 
#6 ·
Having done the wheels, I then turned my attention to the exterior. I opted for a carbon roof and trunk

Image


Image


Then some low key side skirt extensions

Image


Image


Image


Then a front lip

Image


Image


Image


Image


Painted black and coated with 2K clear with my new aibrush

Image


While I was there I decided to repaint the intercooler silver as well

Image


Image


Then I decided to symmetrically carbon the rear lower bumper/diffuser section

Image


Which received some 2K clear as well

Image


Then I gave the exhaust a burnt titanium effect - looks pretty cool through the mesh

Image


Oh and I repainted the rear badge as well. I used a PE sticker so it still says Nissan

Image
 
#7 ·
I thought I was quite happy with the wheels, but then realized the tires weren't meaty enough

Image


So I ended up finding a set of tires in my parts bin which had the absolutely perfect level of meatiness so I promptly switched those out. Here are the before and after pics.

Image


Image


Then I started with the livery, which basically took all day.

Image


Image


Image


Now the last part remains, this Mine's 2-tier wing with the base in semi-gloss black and the top in glossy carbon.

Image


So I started on that and that's where I am for now.

Image


Image


Thanks for looking
 
#14 ·
Well it's quite simple with the masking tape - all you have to do is make sure you use the existing edge and not an edge you created yourself. For example, I had a fat roll of Tamiya masking tape so I cut the strip in half and that didn't turn out so well. The edge that I cut let the paint bleed through. Then it's very important to press the tape down so that the entire edge is making contact with the surface

The liquid mask I use is this latex one by Vallejo

Image


It works great, especially for door cards or dashboards, to protect the decal stickers or if you want to keep the vent the same colour but repaint the rest of the dash. Peels right off after painting, I love it.
 
#18 ·
It's looking really well so far. The choice of meatier tyres is spot on, they suit it perfectly. The carbon work is great and it's looking like a beast. I love it!!!
Image
Image
Image
 
#20 ·
progress of the Mine's wing

built, shaped, carbon decal, paint and 2K clear with some polish

Image


Image


Image


Adding some tiny rivets as per the real thing

Image


Image


And the model is done! Will take some outdoor pics later but here are some preliminaries

Image


Image


Image


Image


Image


Image


Image


Image


Thanks for looking!
 
#29 ·
Alright some finishing touches now. Since I decided to repaint my Mine's R33, the license plates I got from Ding Sign became available and they were perfect for the R35.

Image


Image


Image


Then the missing decal for the wing arrived from TKDiecast - the little red one

Image


Image


Image


Image


Image